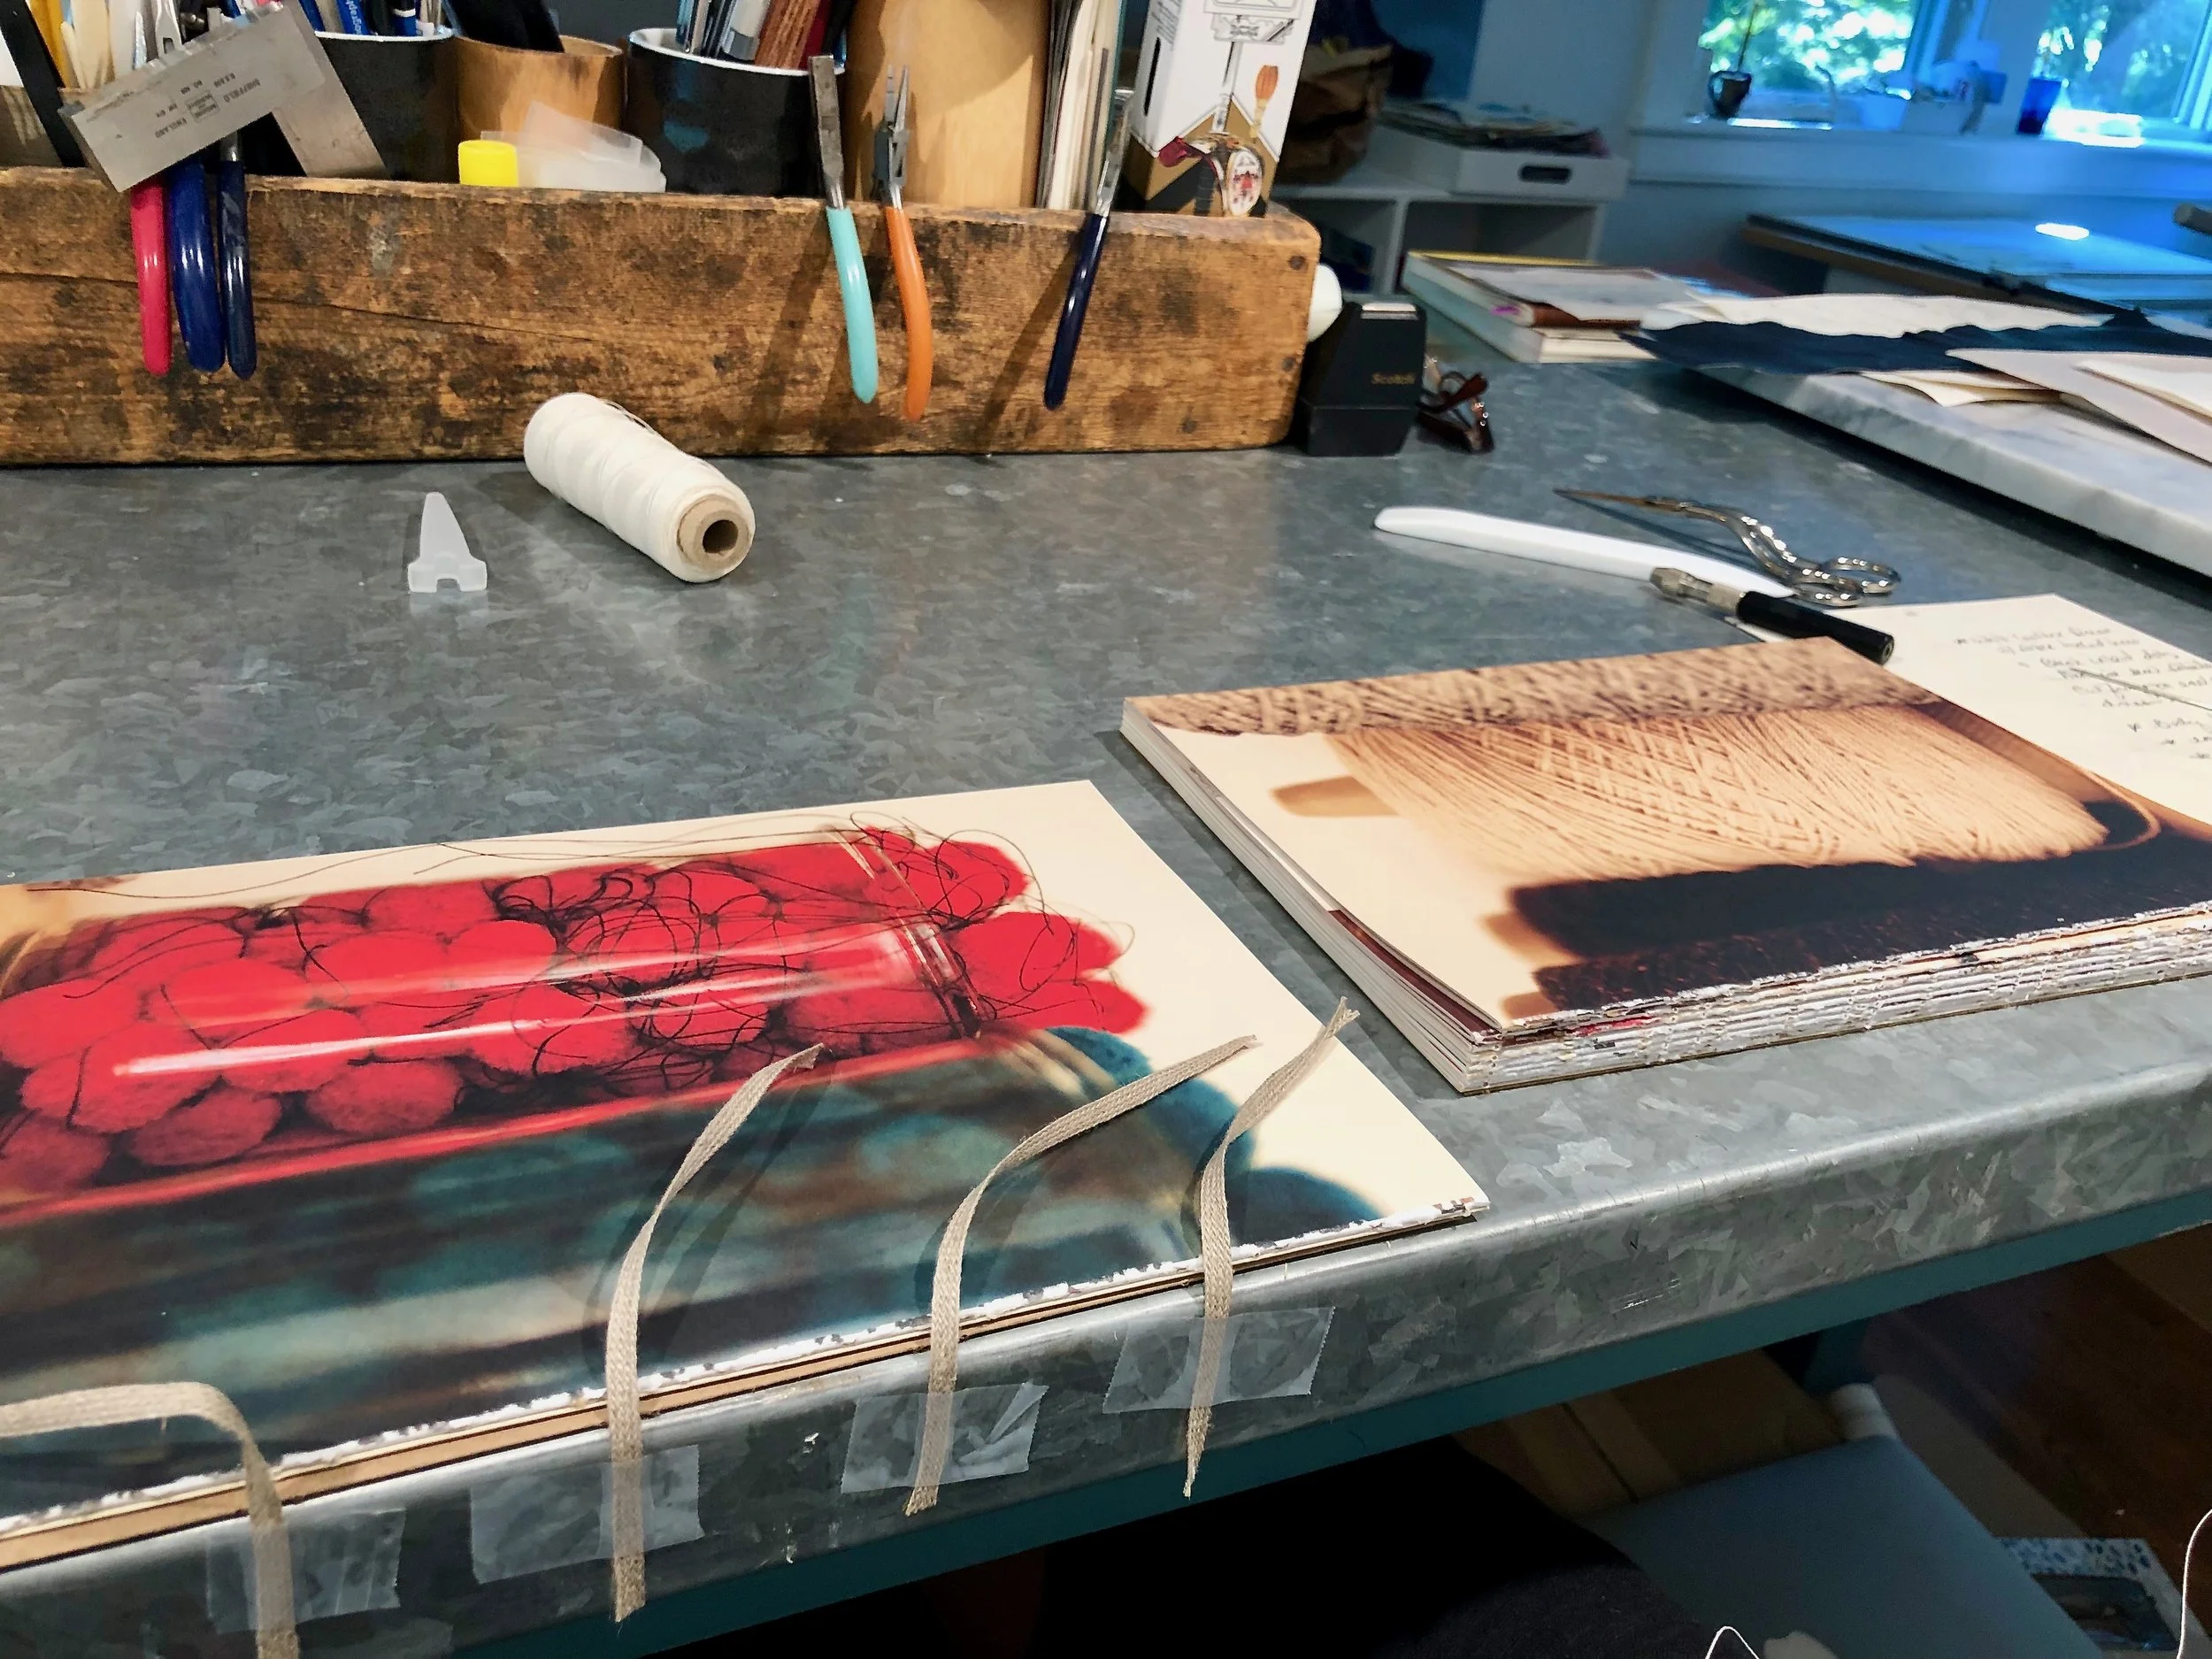
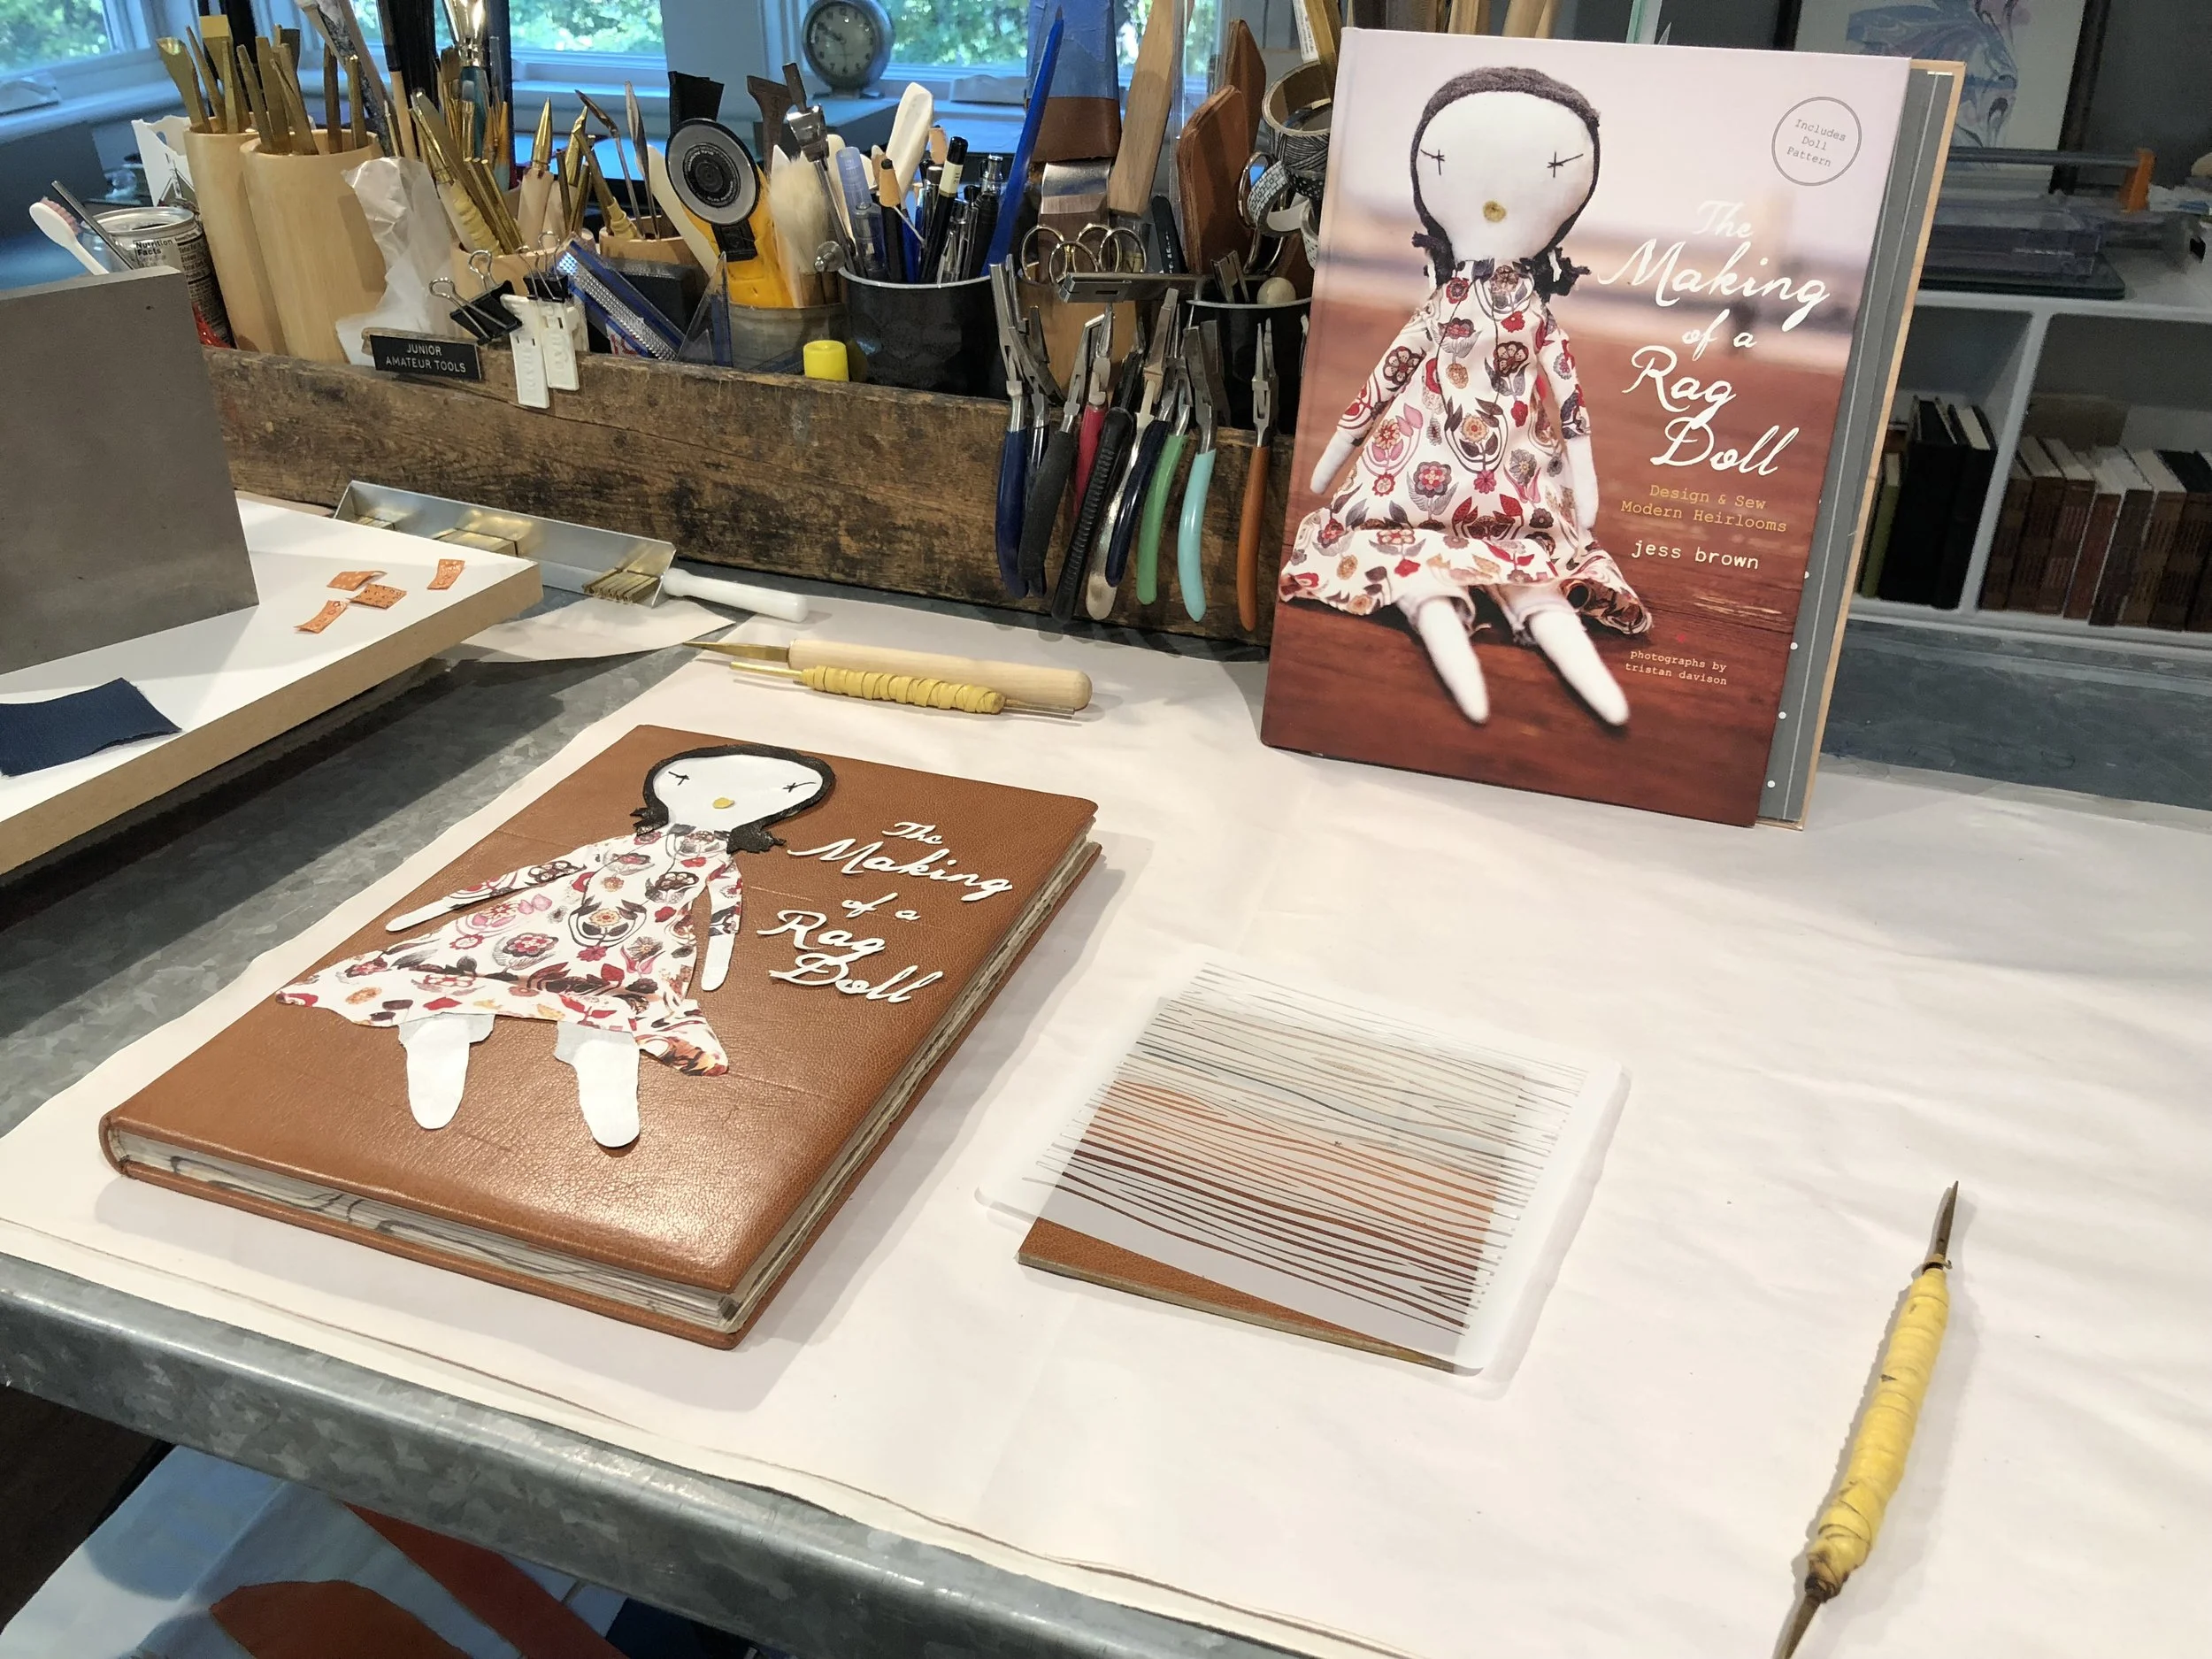
Photo transfer on leather

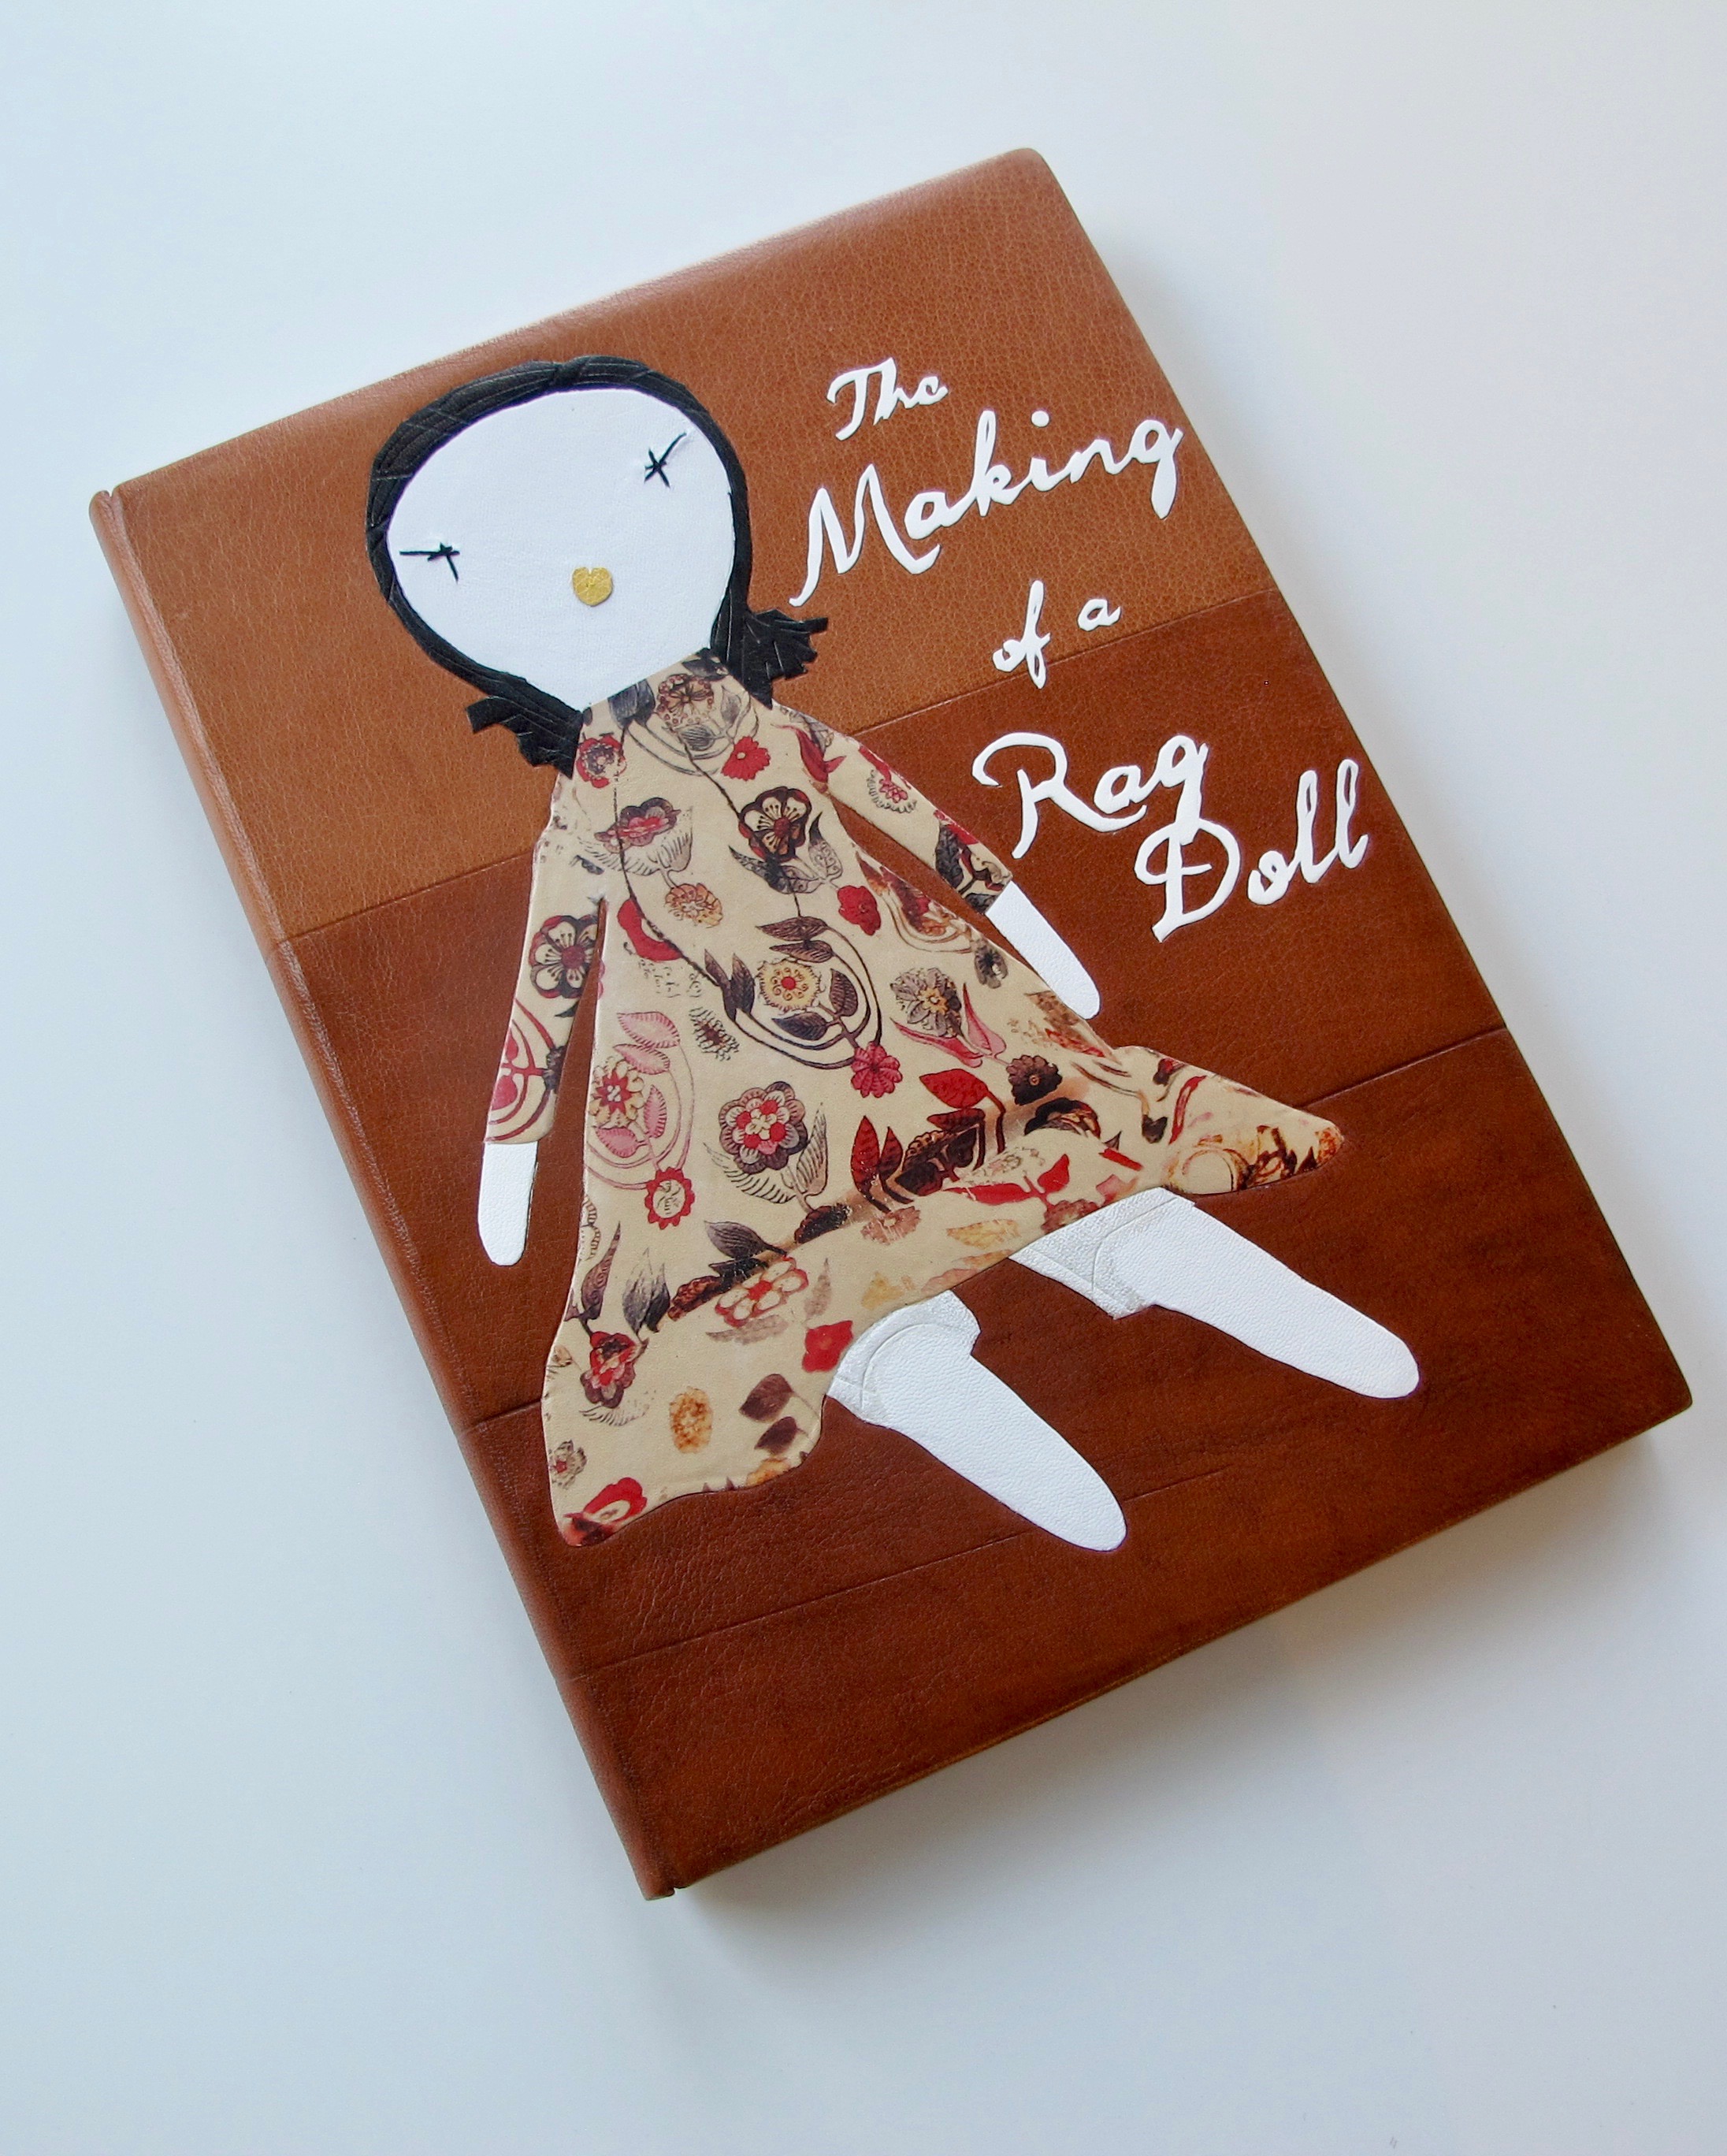
I loved the original cover for this book by Jess Brown. The idea for my fine binding was to re-create what was already there. I knew that I wanted the dress to be the star of the cover, so I got in touch with Jess Brown’s studio and asked if they had any scraps of this beautiful fabric. They were so generous and supportive of my project; a few weeks later I had the one remaining scrap of this discontinued Liberty of London Fabric. So cool! I also had many other scraps of Liberty of London Fabric and some cashmere that could be used for the hair.
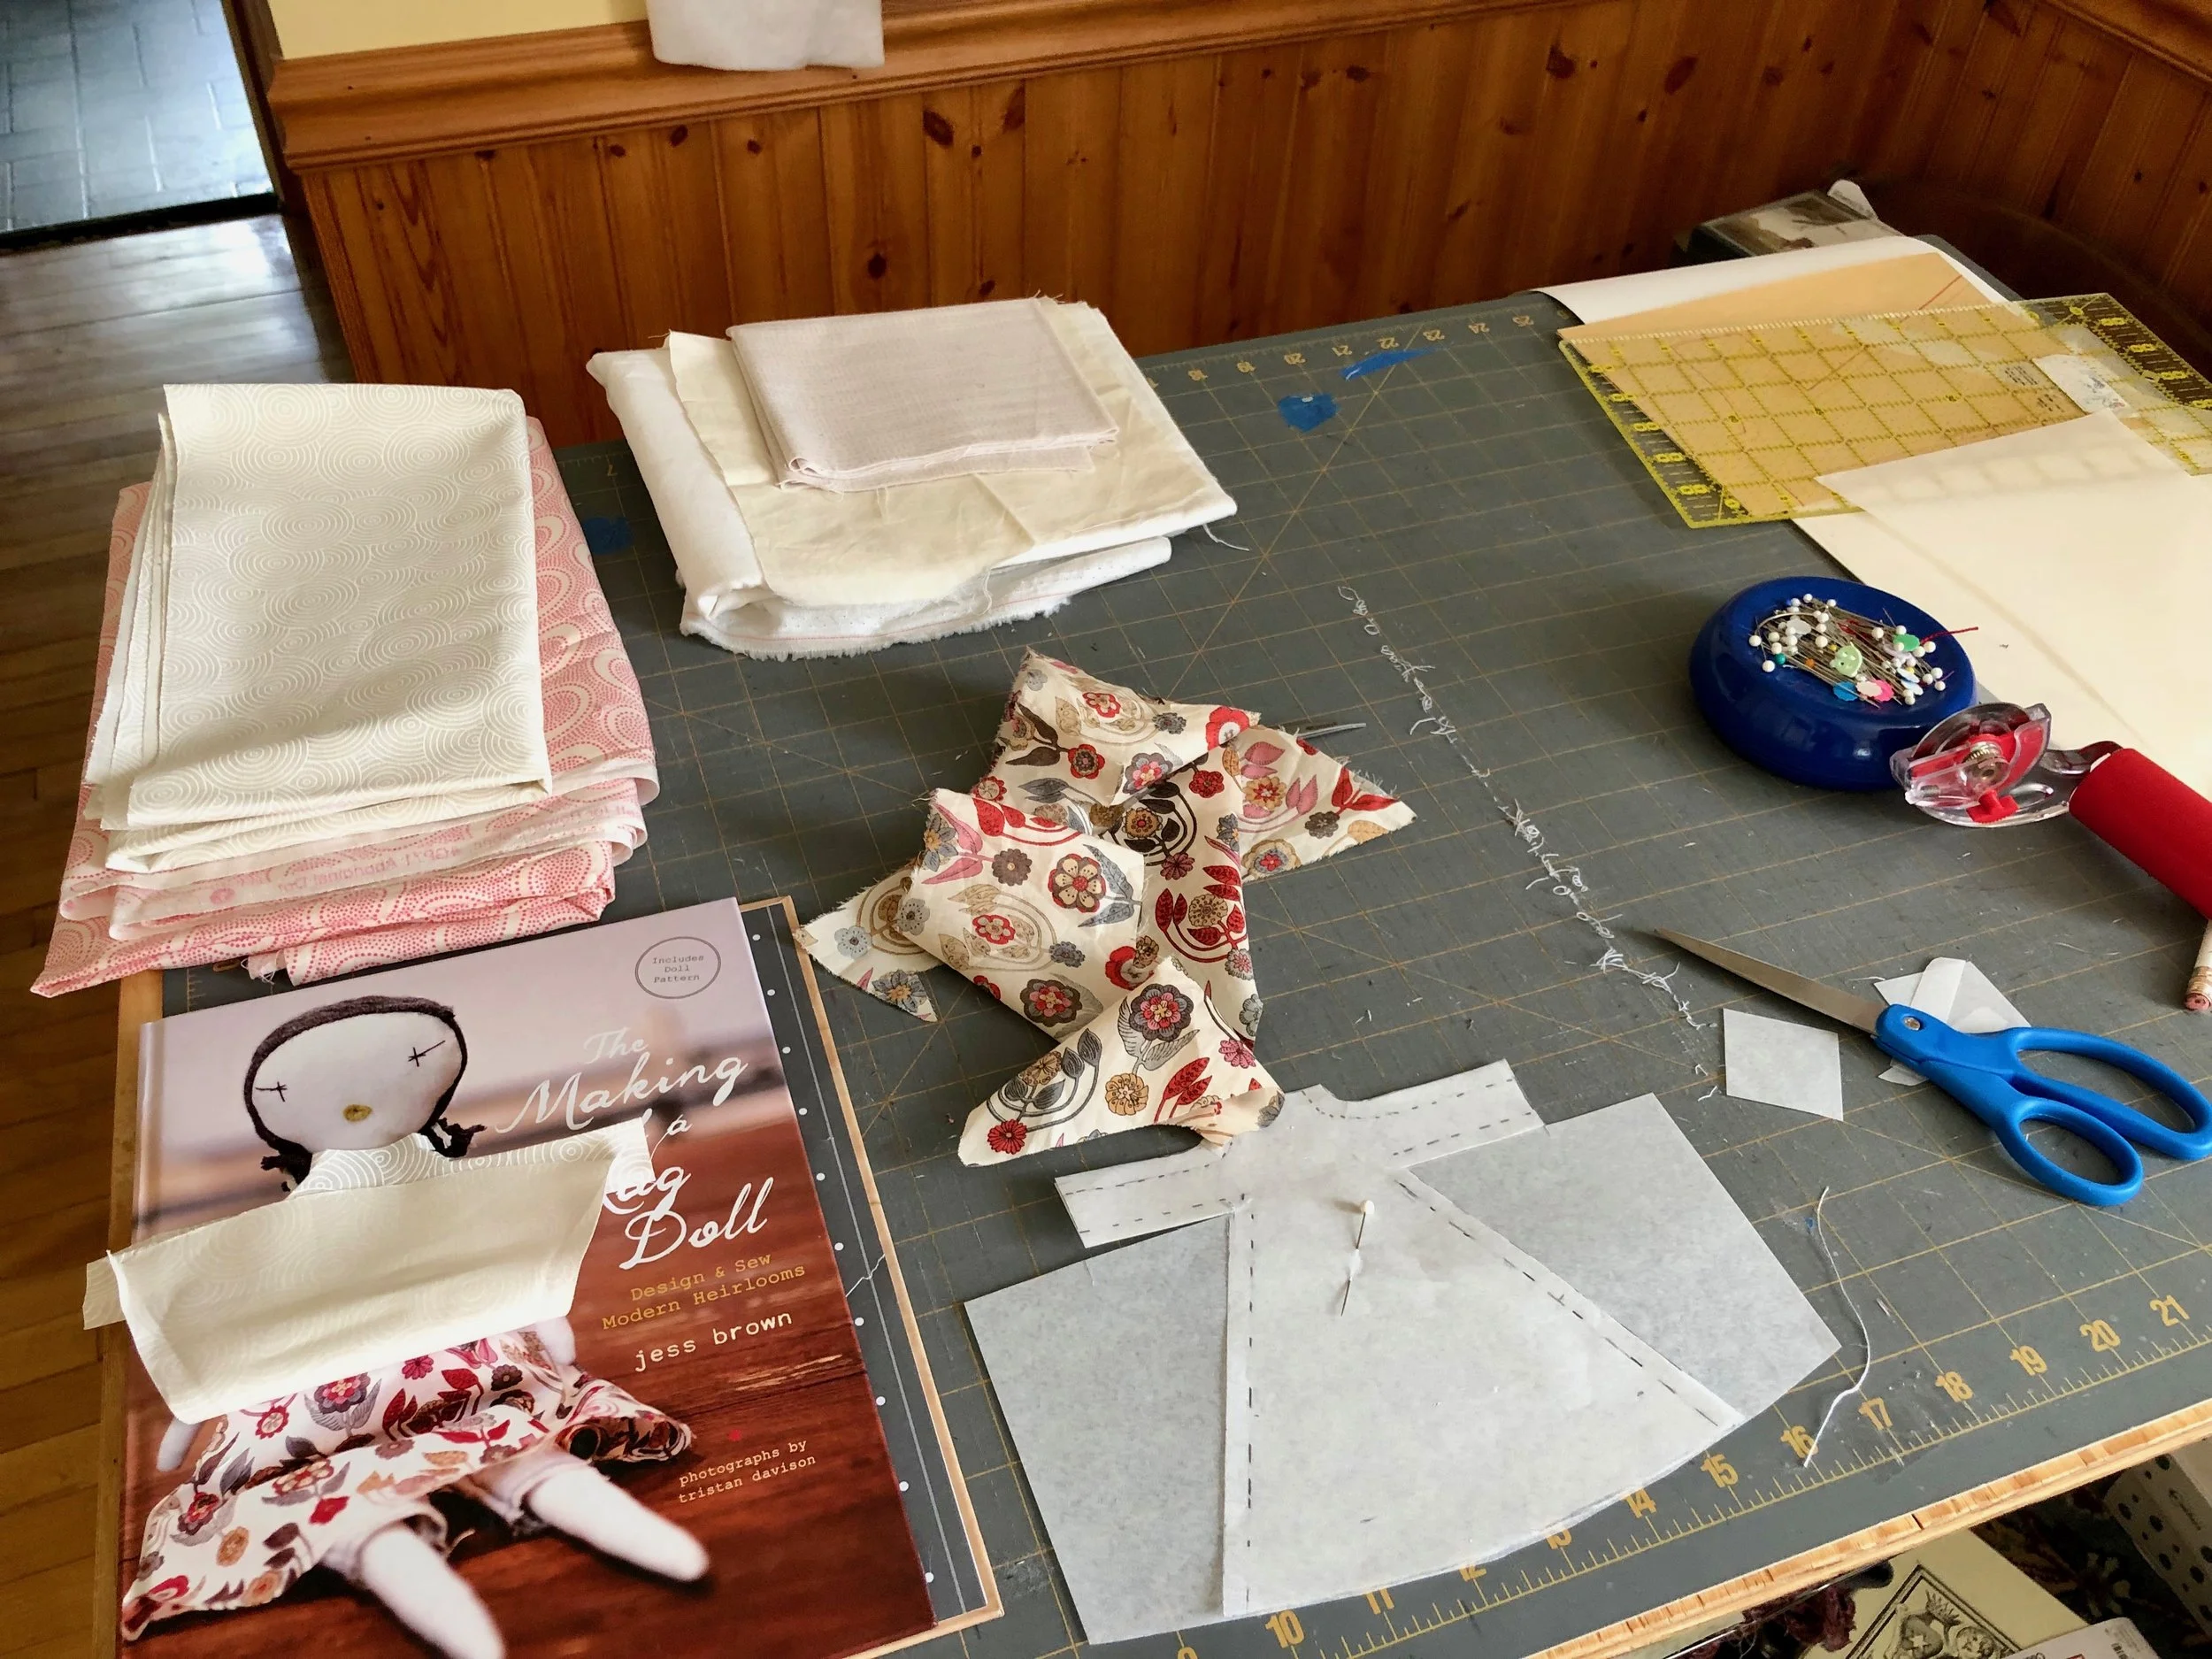
My mom sews and over a holiday we set to work trying to figure out how we’d resize the pattern for this dress and make it work on the leather. We were successful in creating some cute little dresses, but as soon as I laid them on the leather, I knew it wasn’t the look I wanted. At one point, I remember my mom calling me and saying the fabric had to be an accessory somehow and not the actual dress. We were in agreement. That’s where the leather / photo transfer came in and my idea morphed into creating the original cover design, but the challenge was to do it with leather.
I looked online for all the photo transfer techniques I could find. Many of the tutorials I read called for using Mod Podge. Some called for using PVA, so I tried that but didn’t like the results. Others called for Citra Solve, the cleaning product. I took a class with Nicky Oliver and she showed us a method of reverse transfer using cellulose thinner but this only works (and works great) on black and white photocopies.
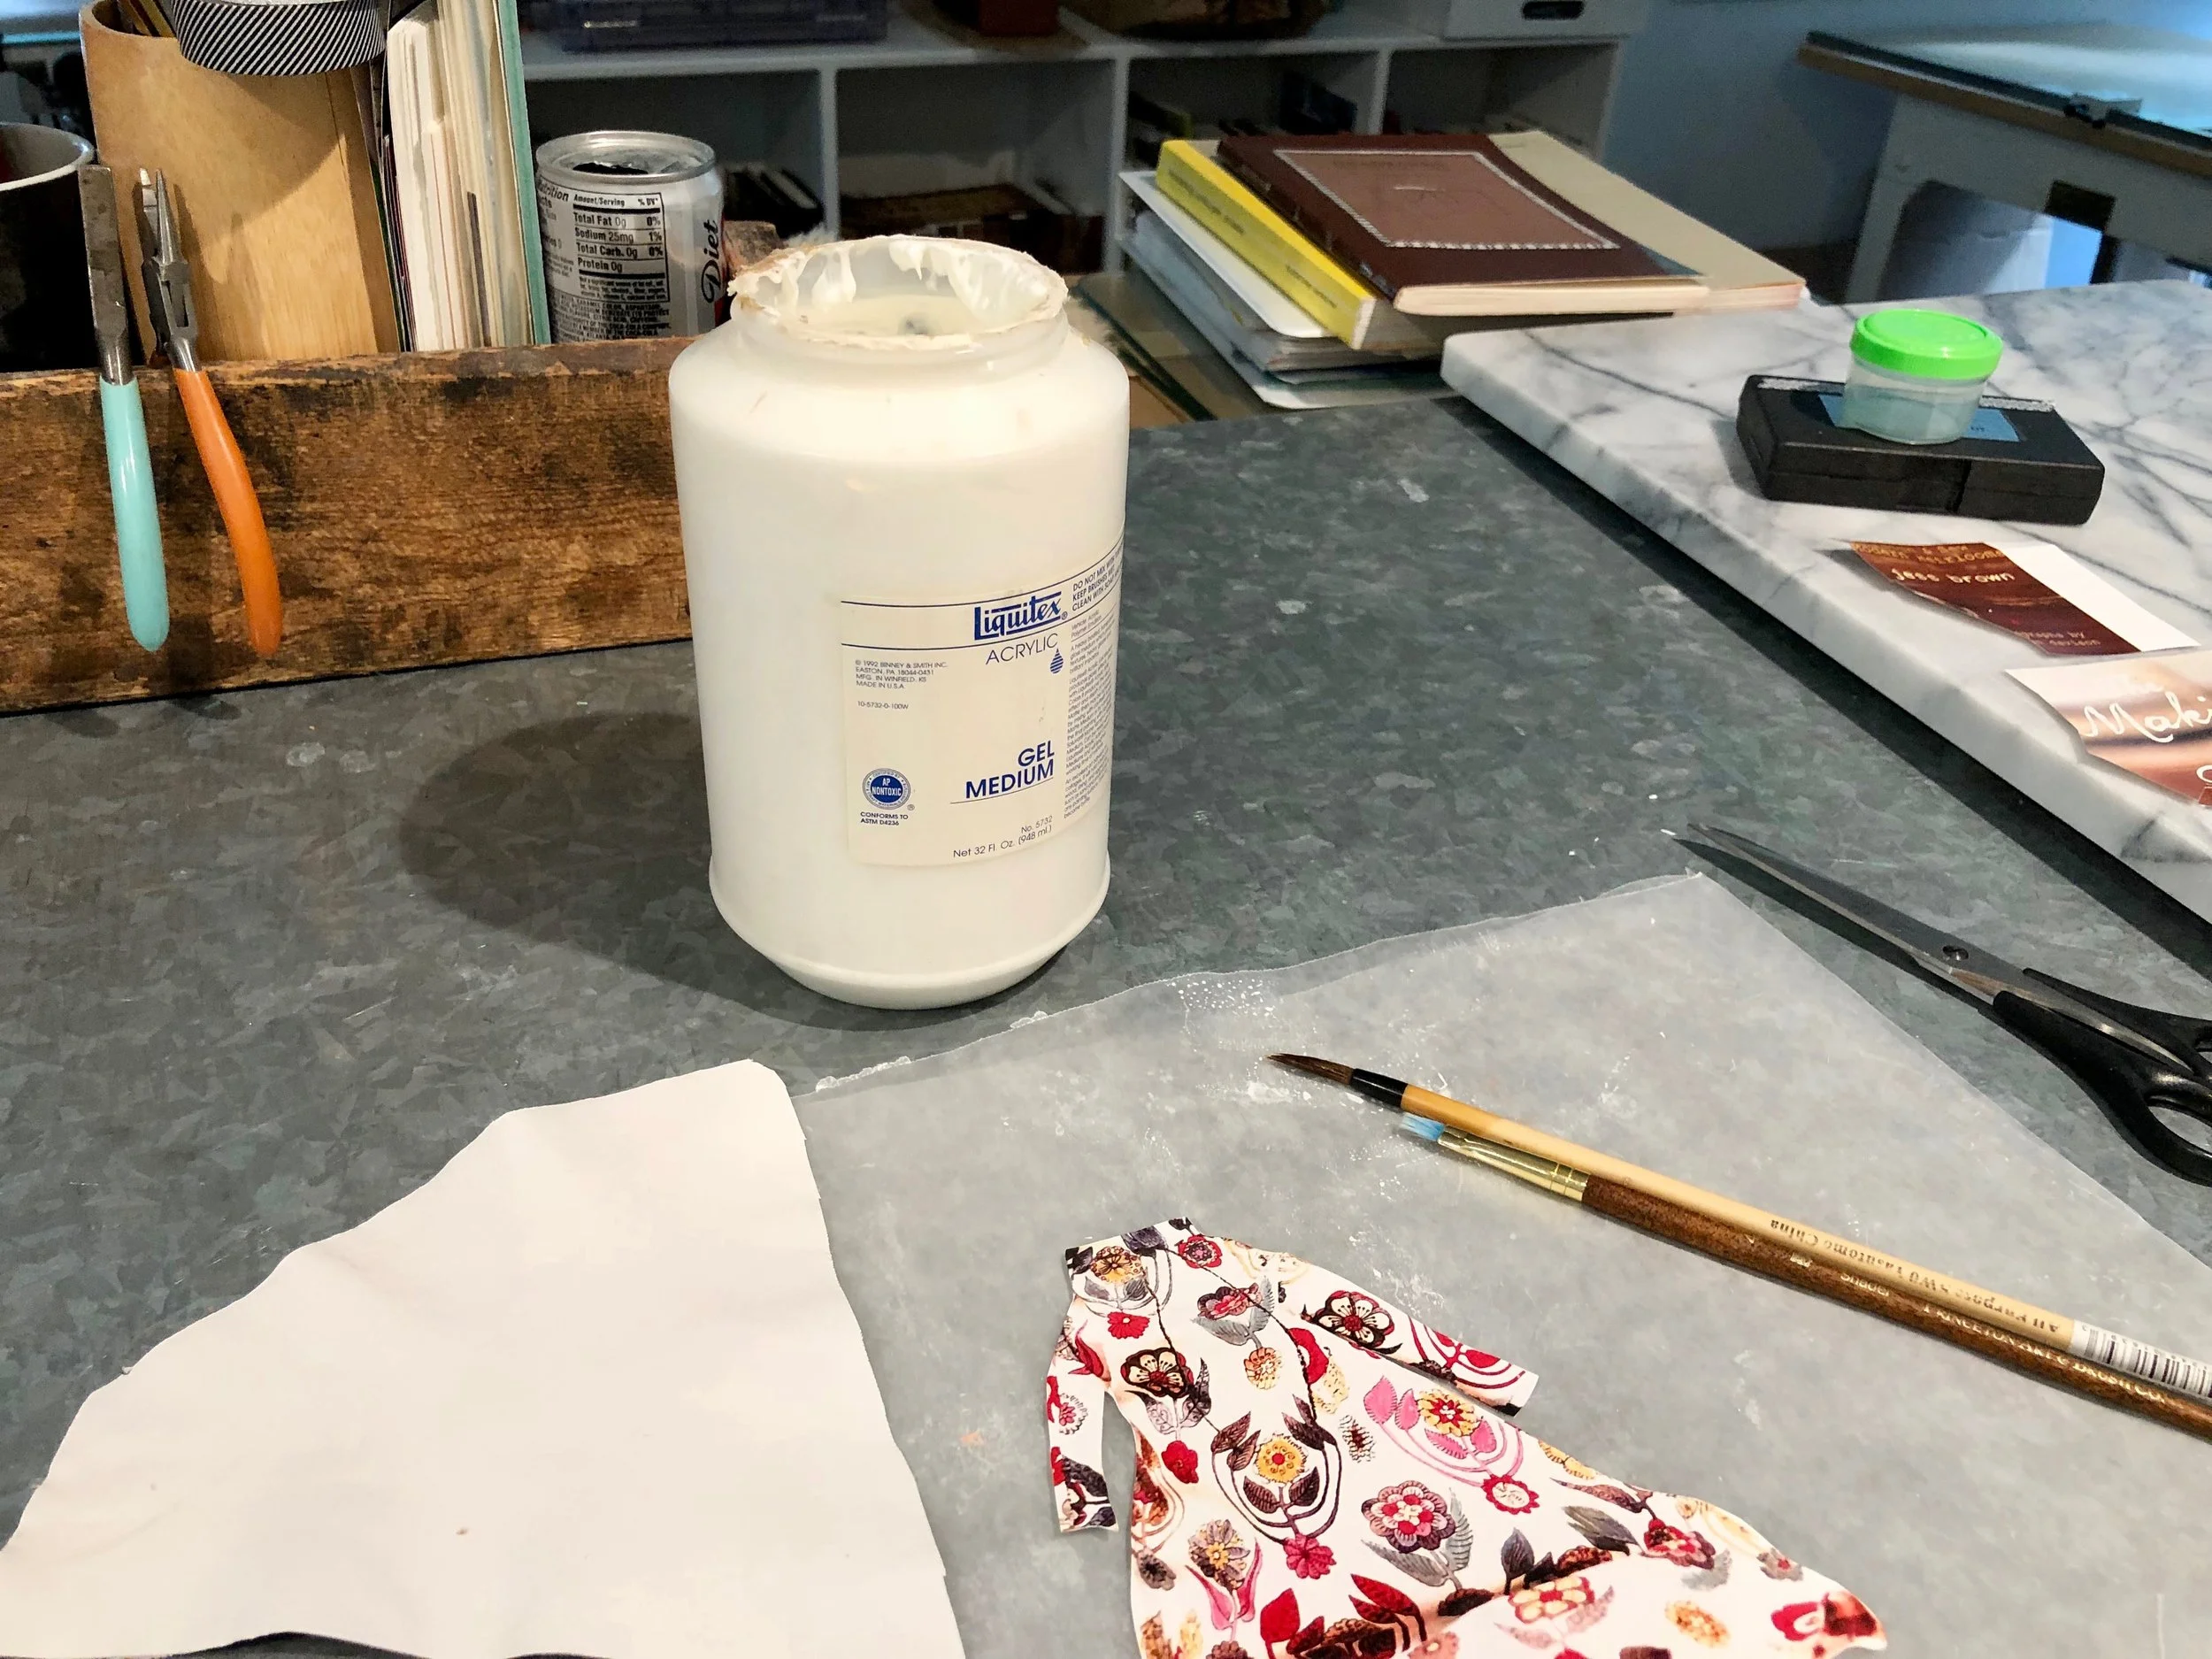
After considering all my options and what I had on hand in the studio, I took a leap of faith and tried Liquitex Acrylic Gel Medium. I’ve had this sitting around for probably 10 years and haven’t touched it, and it worked like a charm!
My process for transfer using Acrylic Medium:
1. Pare the leather to onlay thickness. You need to pare first because if you stretch the leather with the ink already on it, it will crack and flake off.
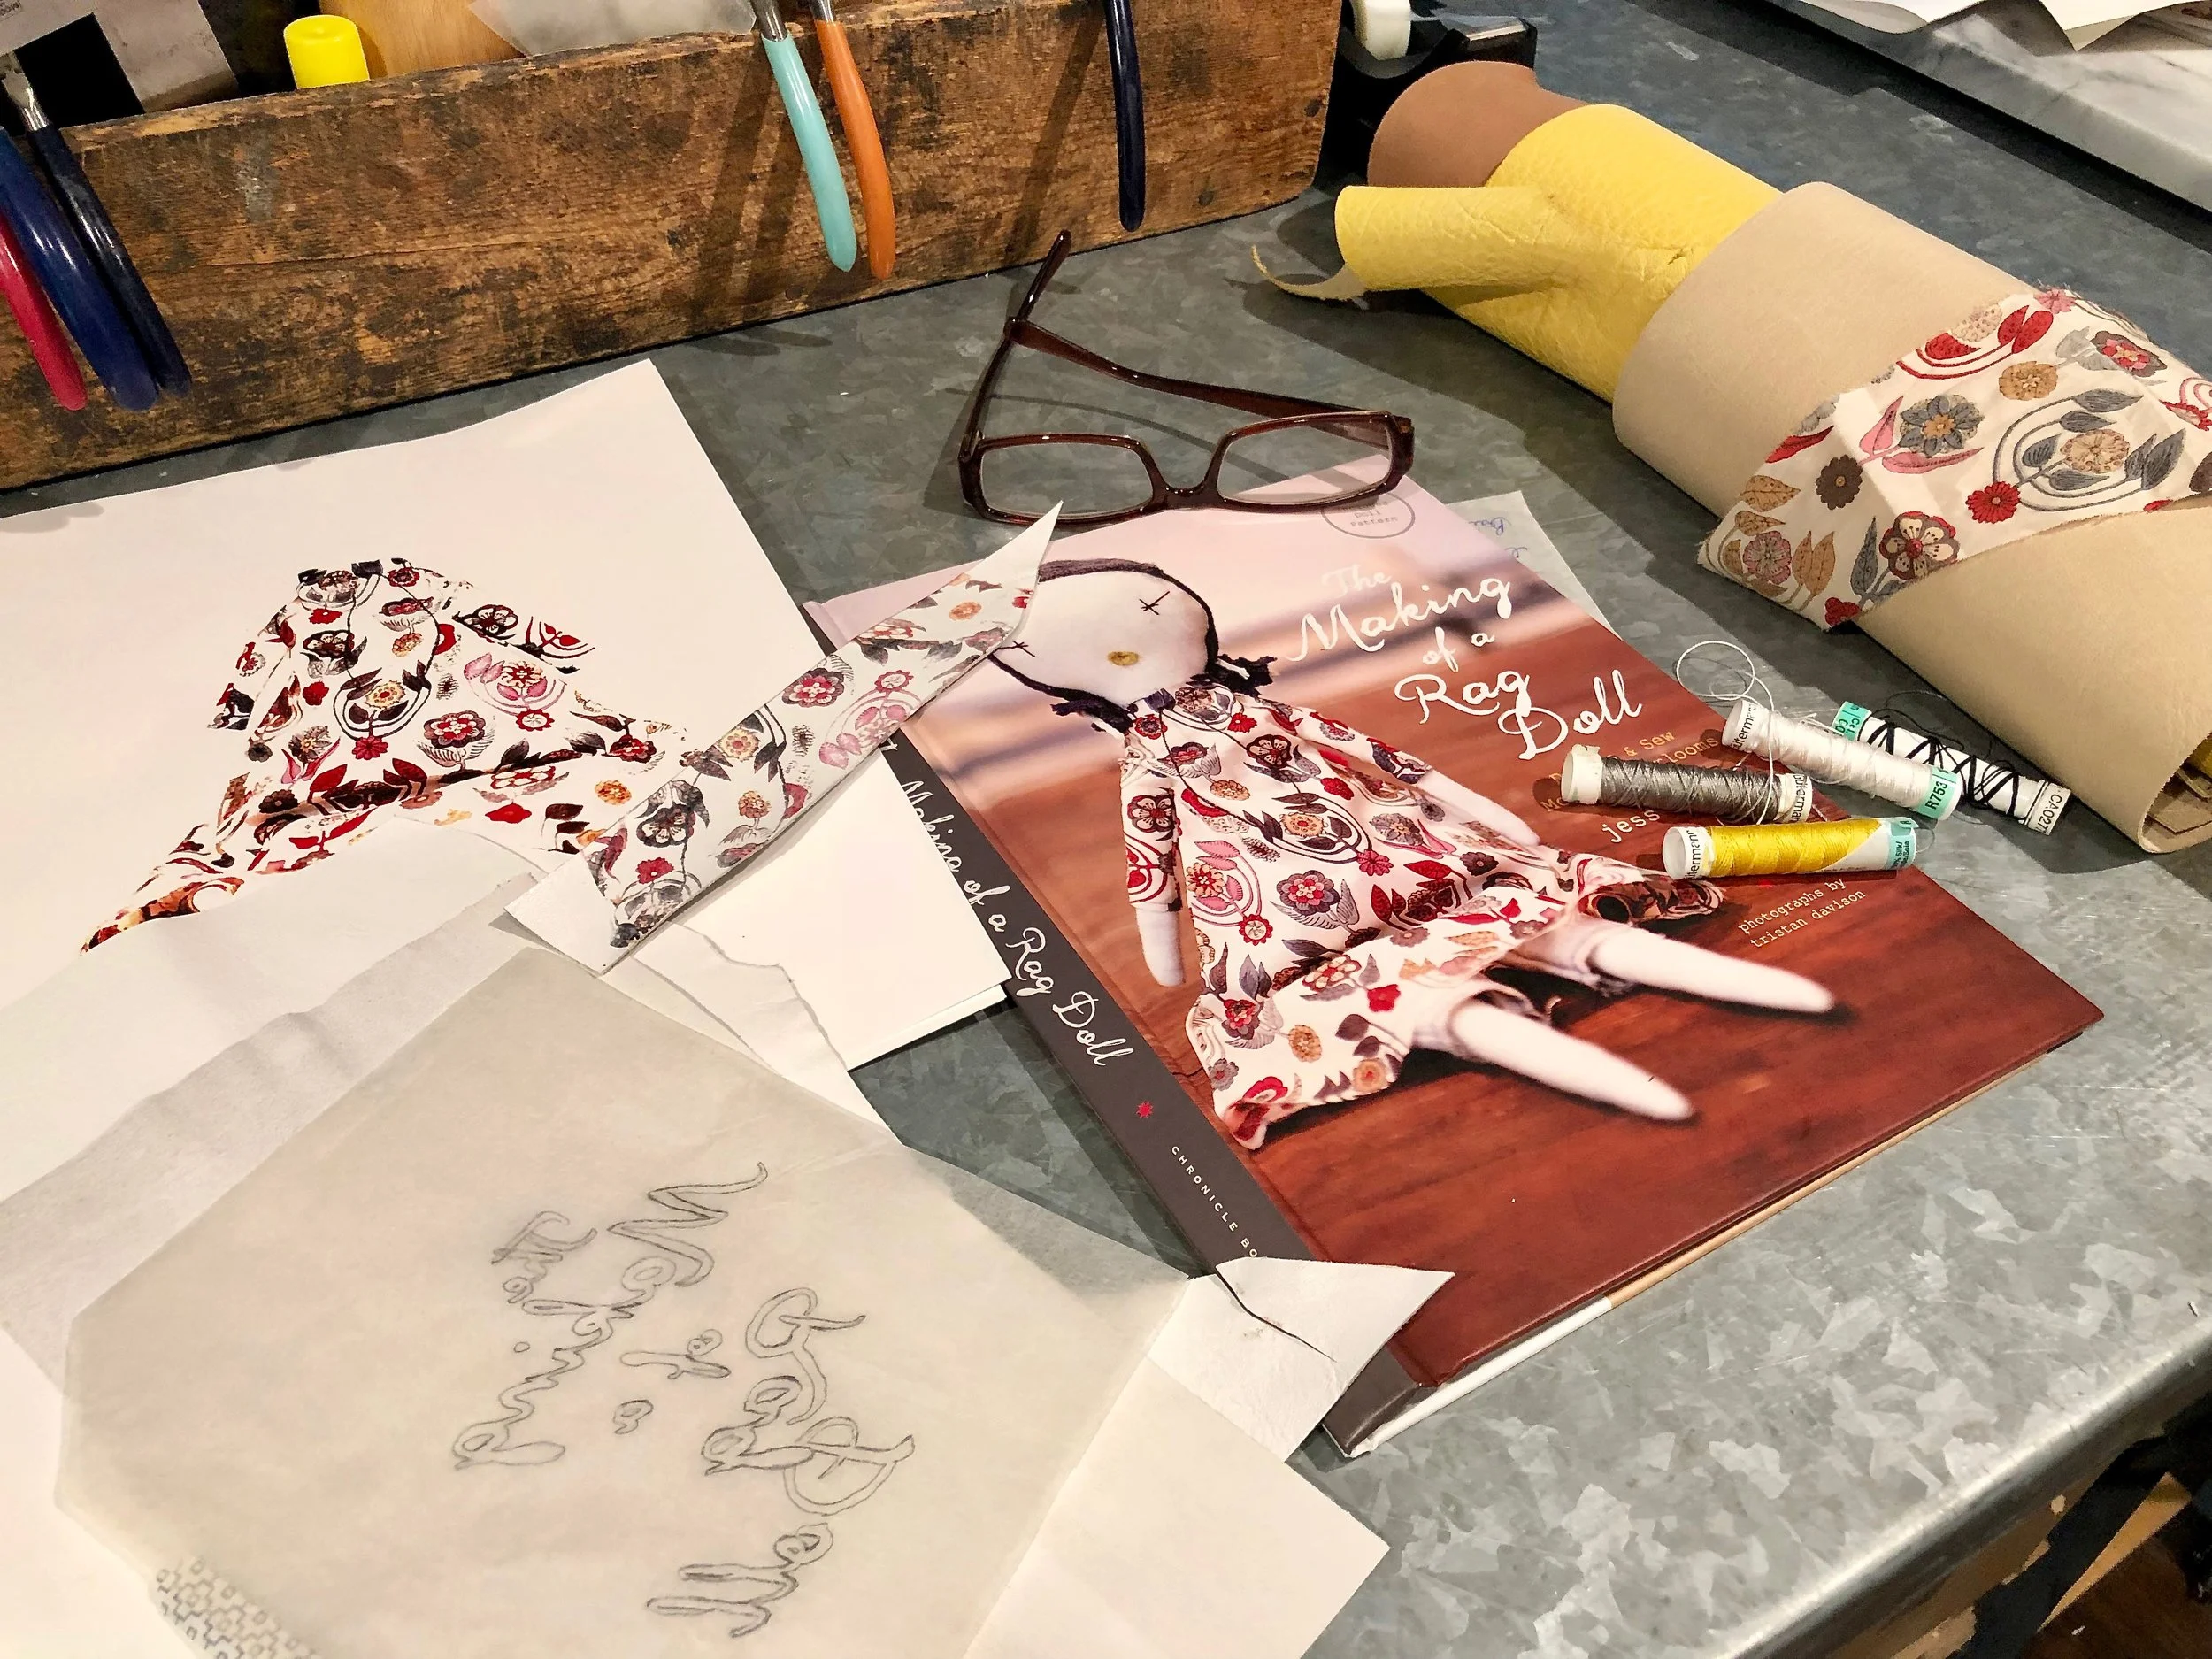
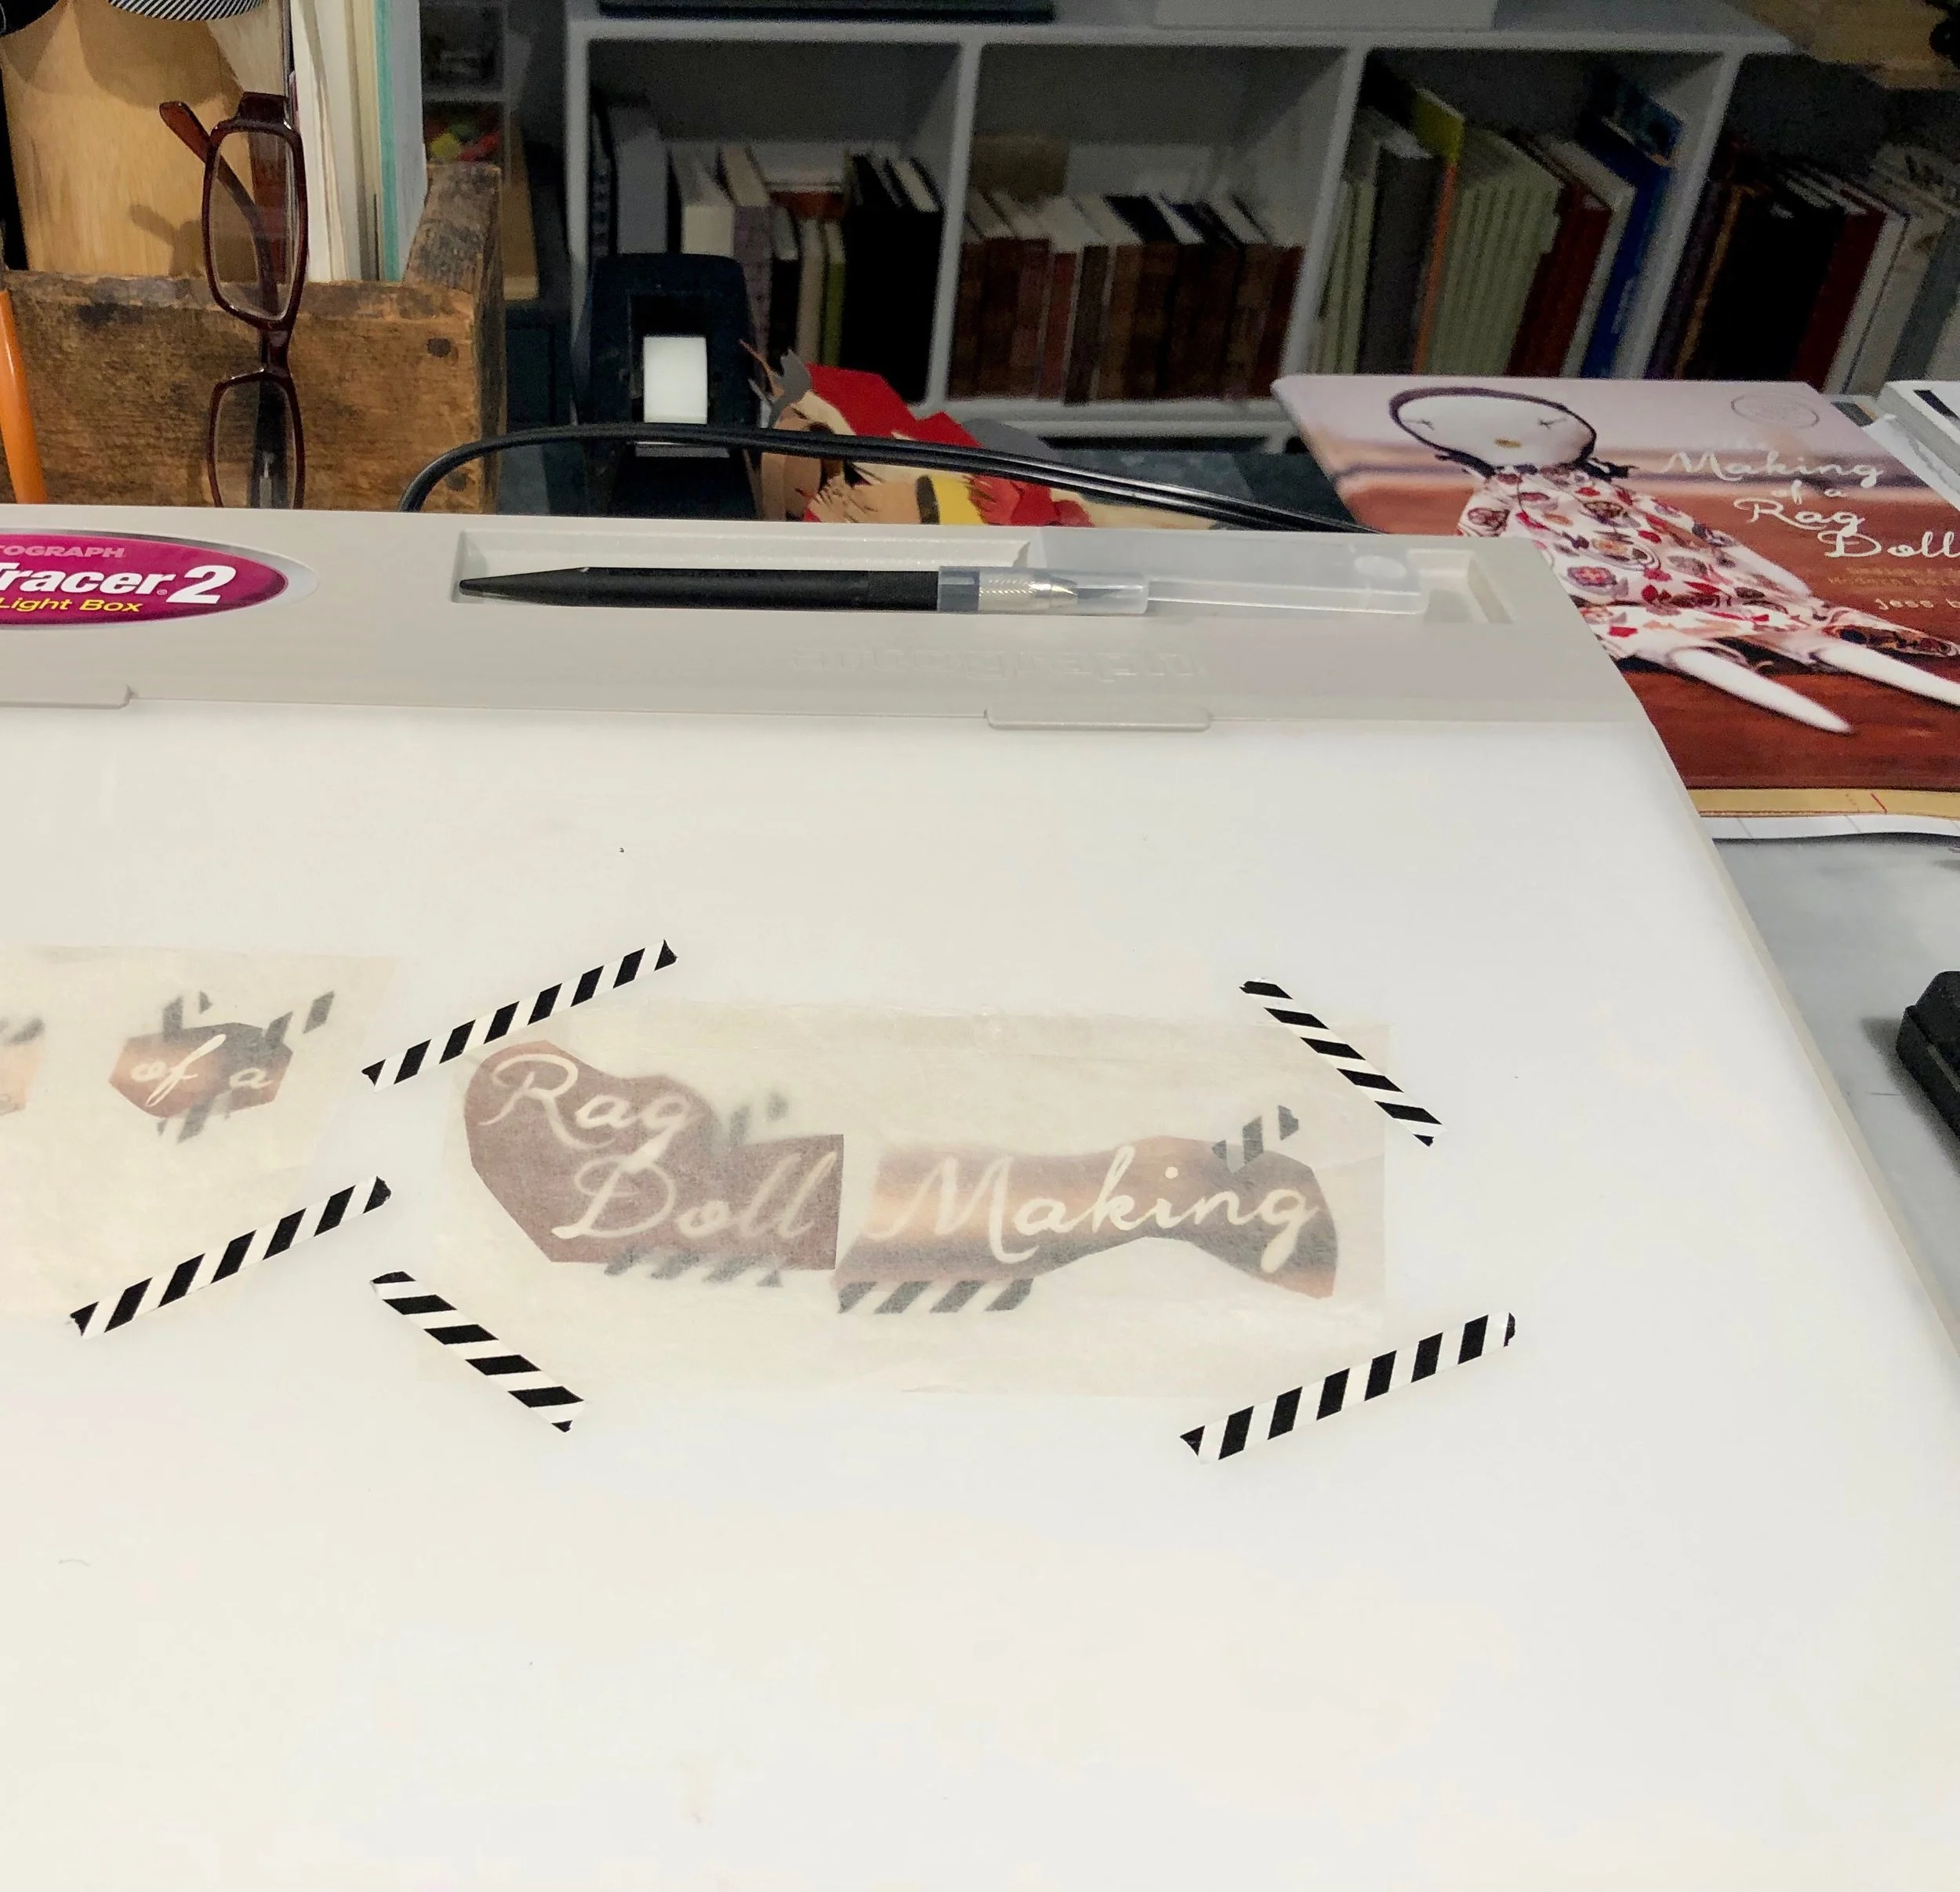
2. Reverse image in Word and size to what I needed for the cover.
3. Print on laser printer. I tried copies from our home printer and the commercial printer in my husband’s office and both worked the same.
4. With the help of my sister (a graphic designer) color correct any areas that were printing too dark or light.
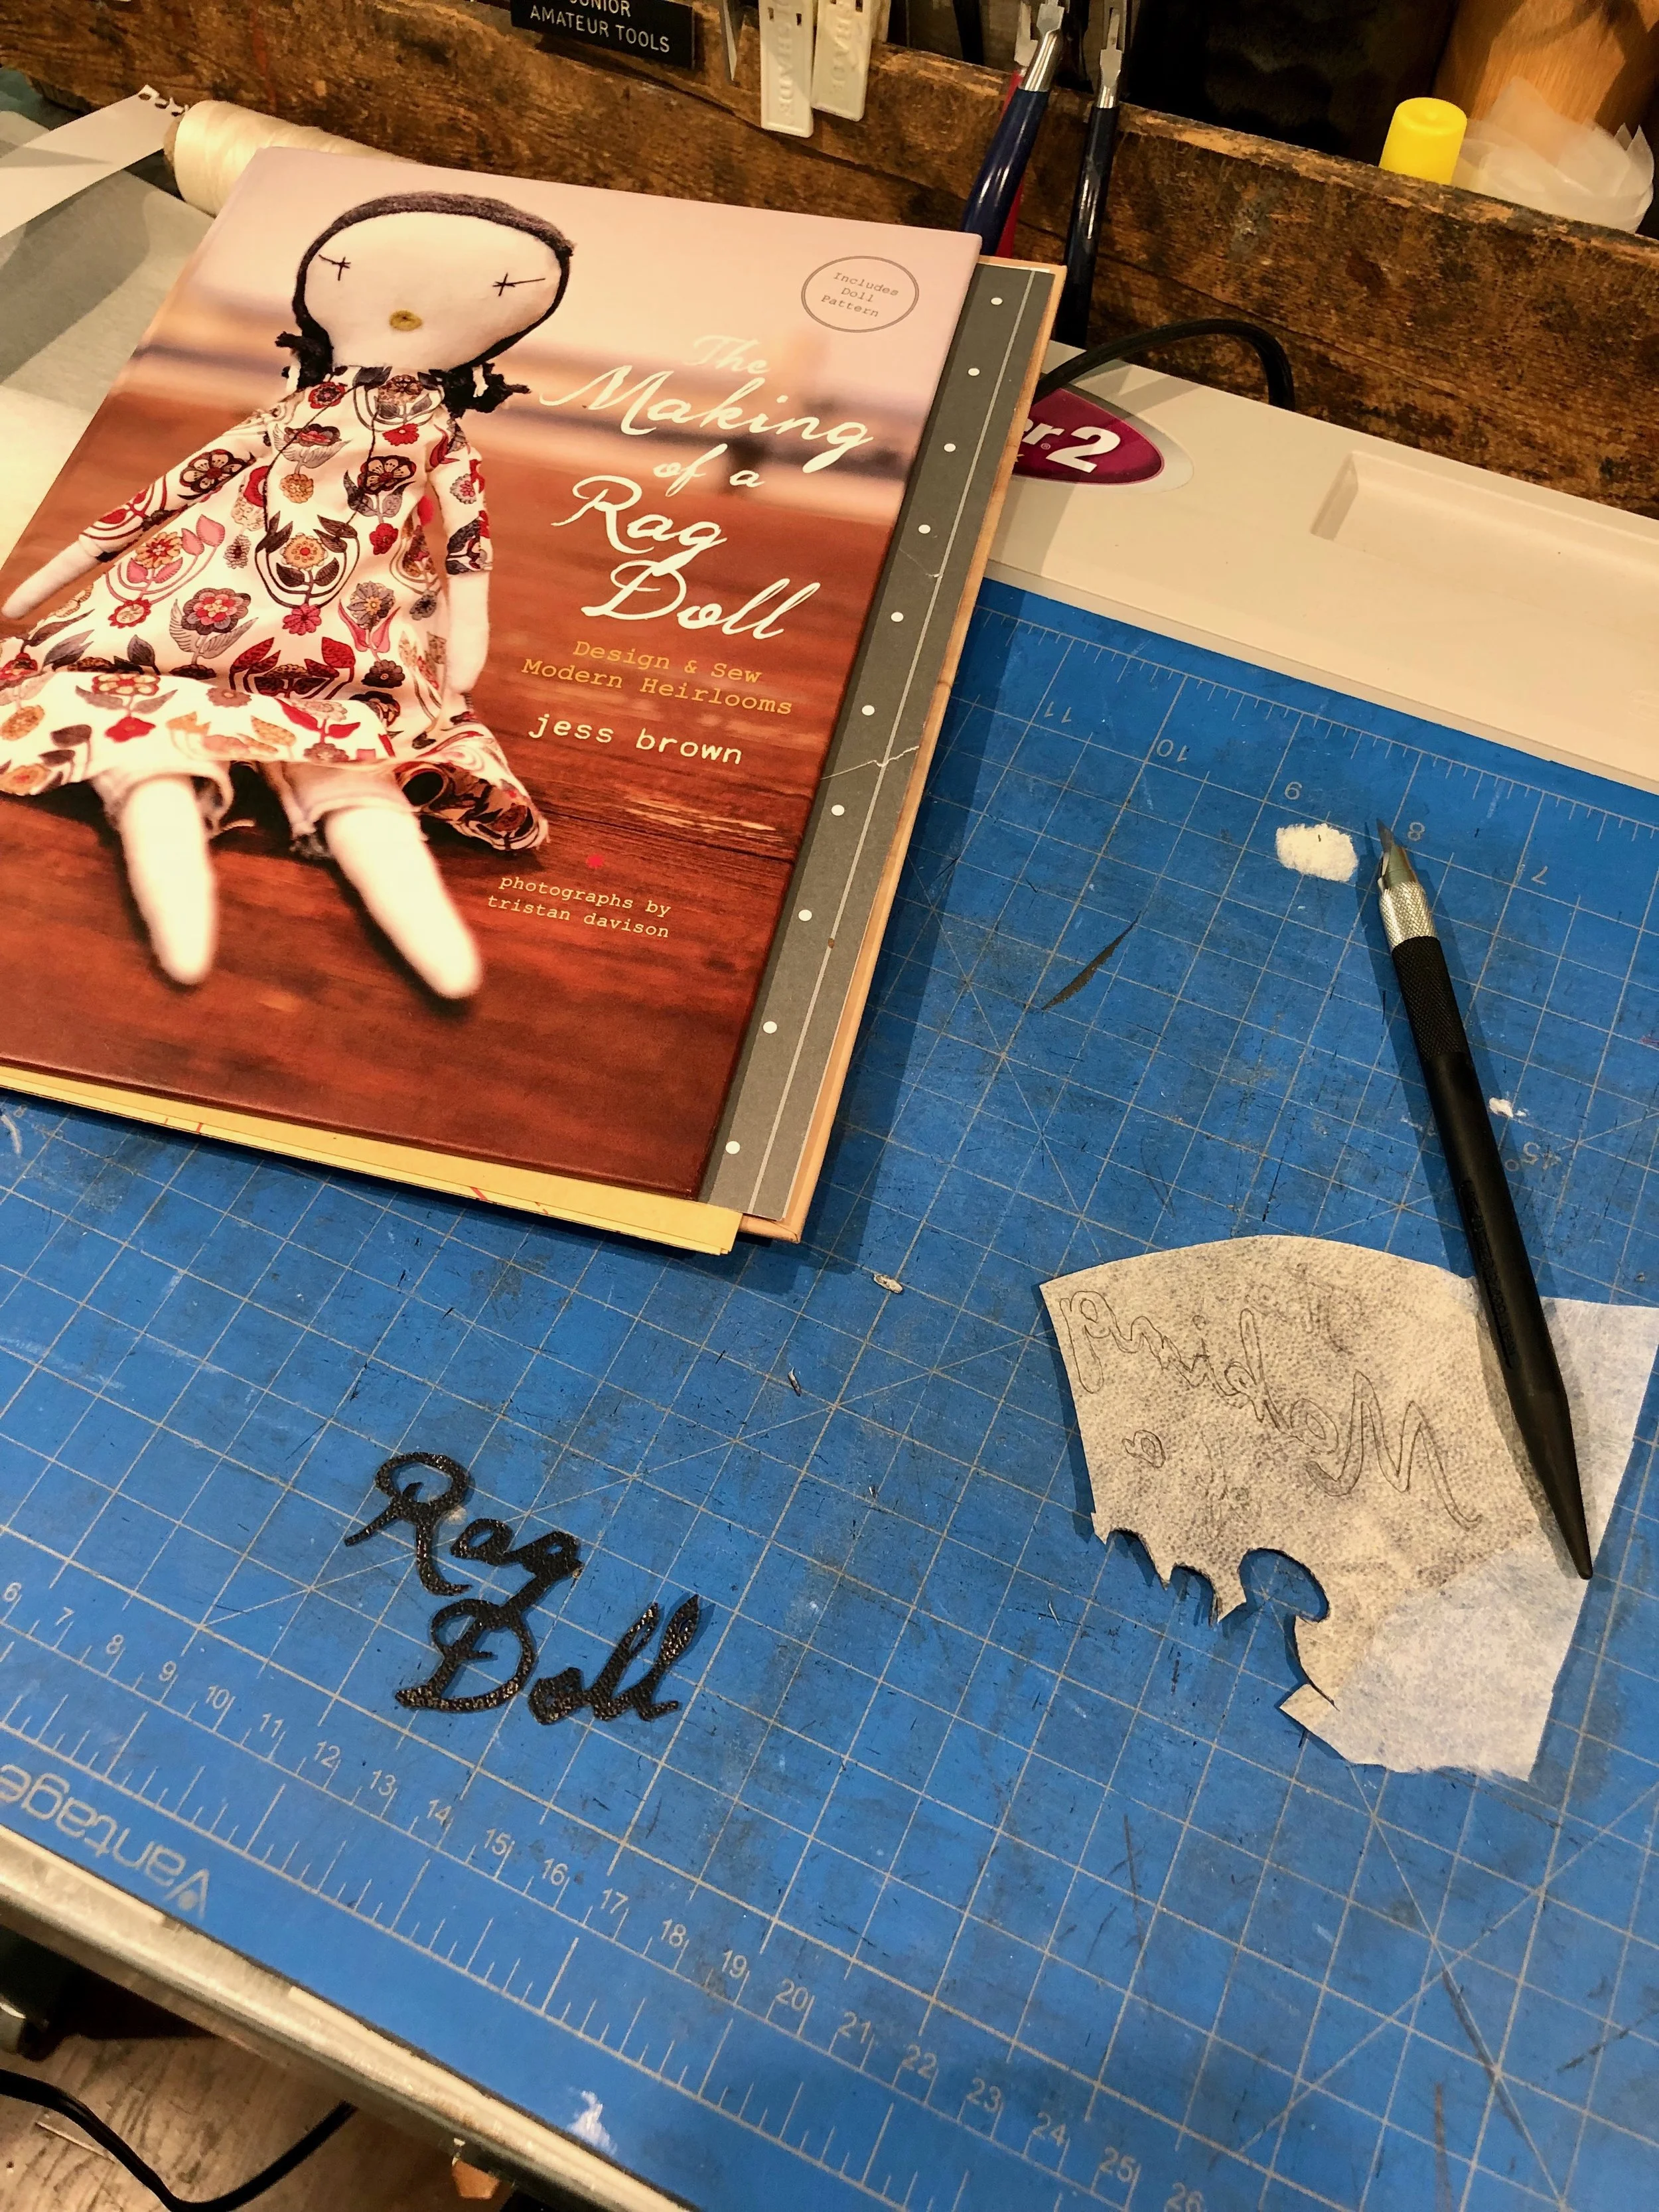
5. Print final copy and cut out exactly on outside lines.
6. Paint a generous layer of Gel Medium on the leather and lay photocopy on top.
7. Smooth with bone folder.
8. Leave to dry under a light weight overnight.
9. Dampen a sponge and then gently rub the paper. Do until all the paper is off, being careful not to take the ink also. After it has dried you may see more paper as a whitish tinge. Dampen and rub again.
10. After thoroughly dry apply a coat of fixative like Golden Polymer Varnish.
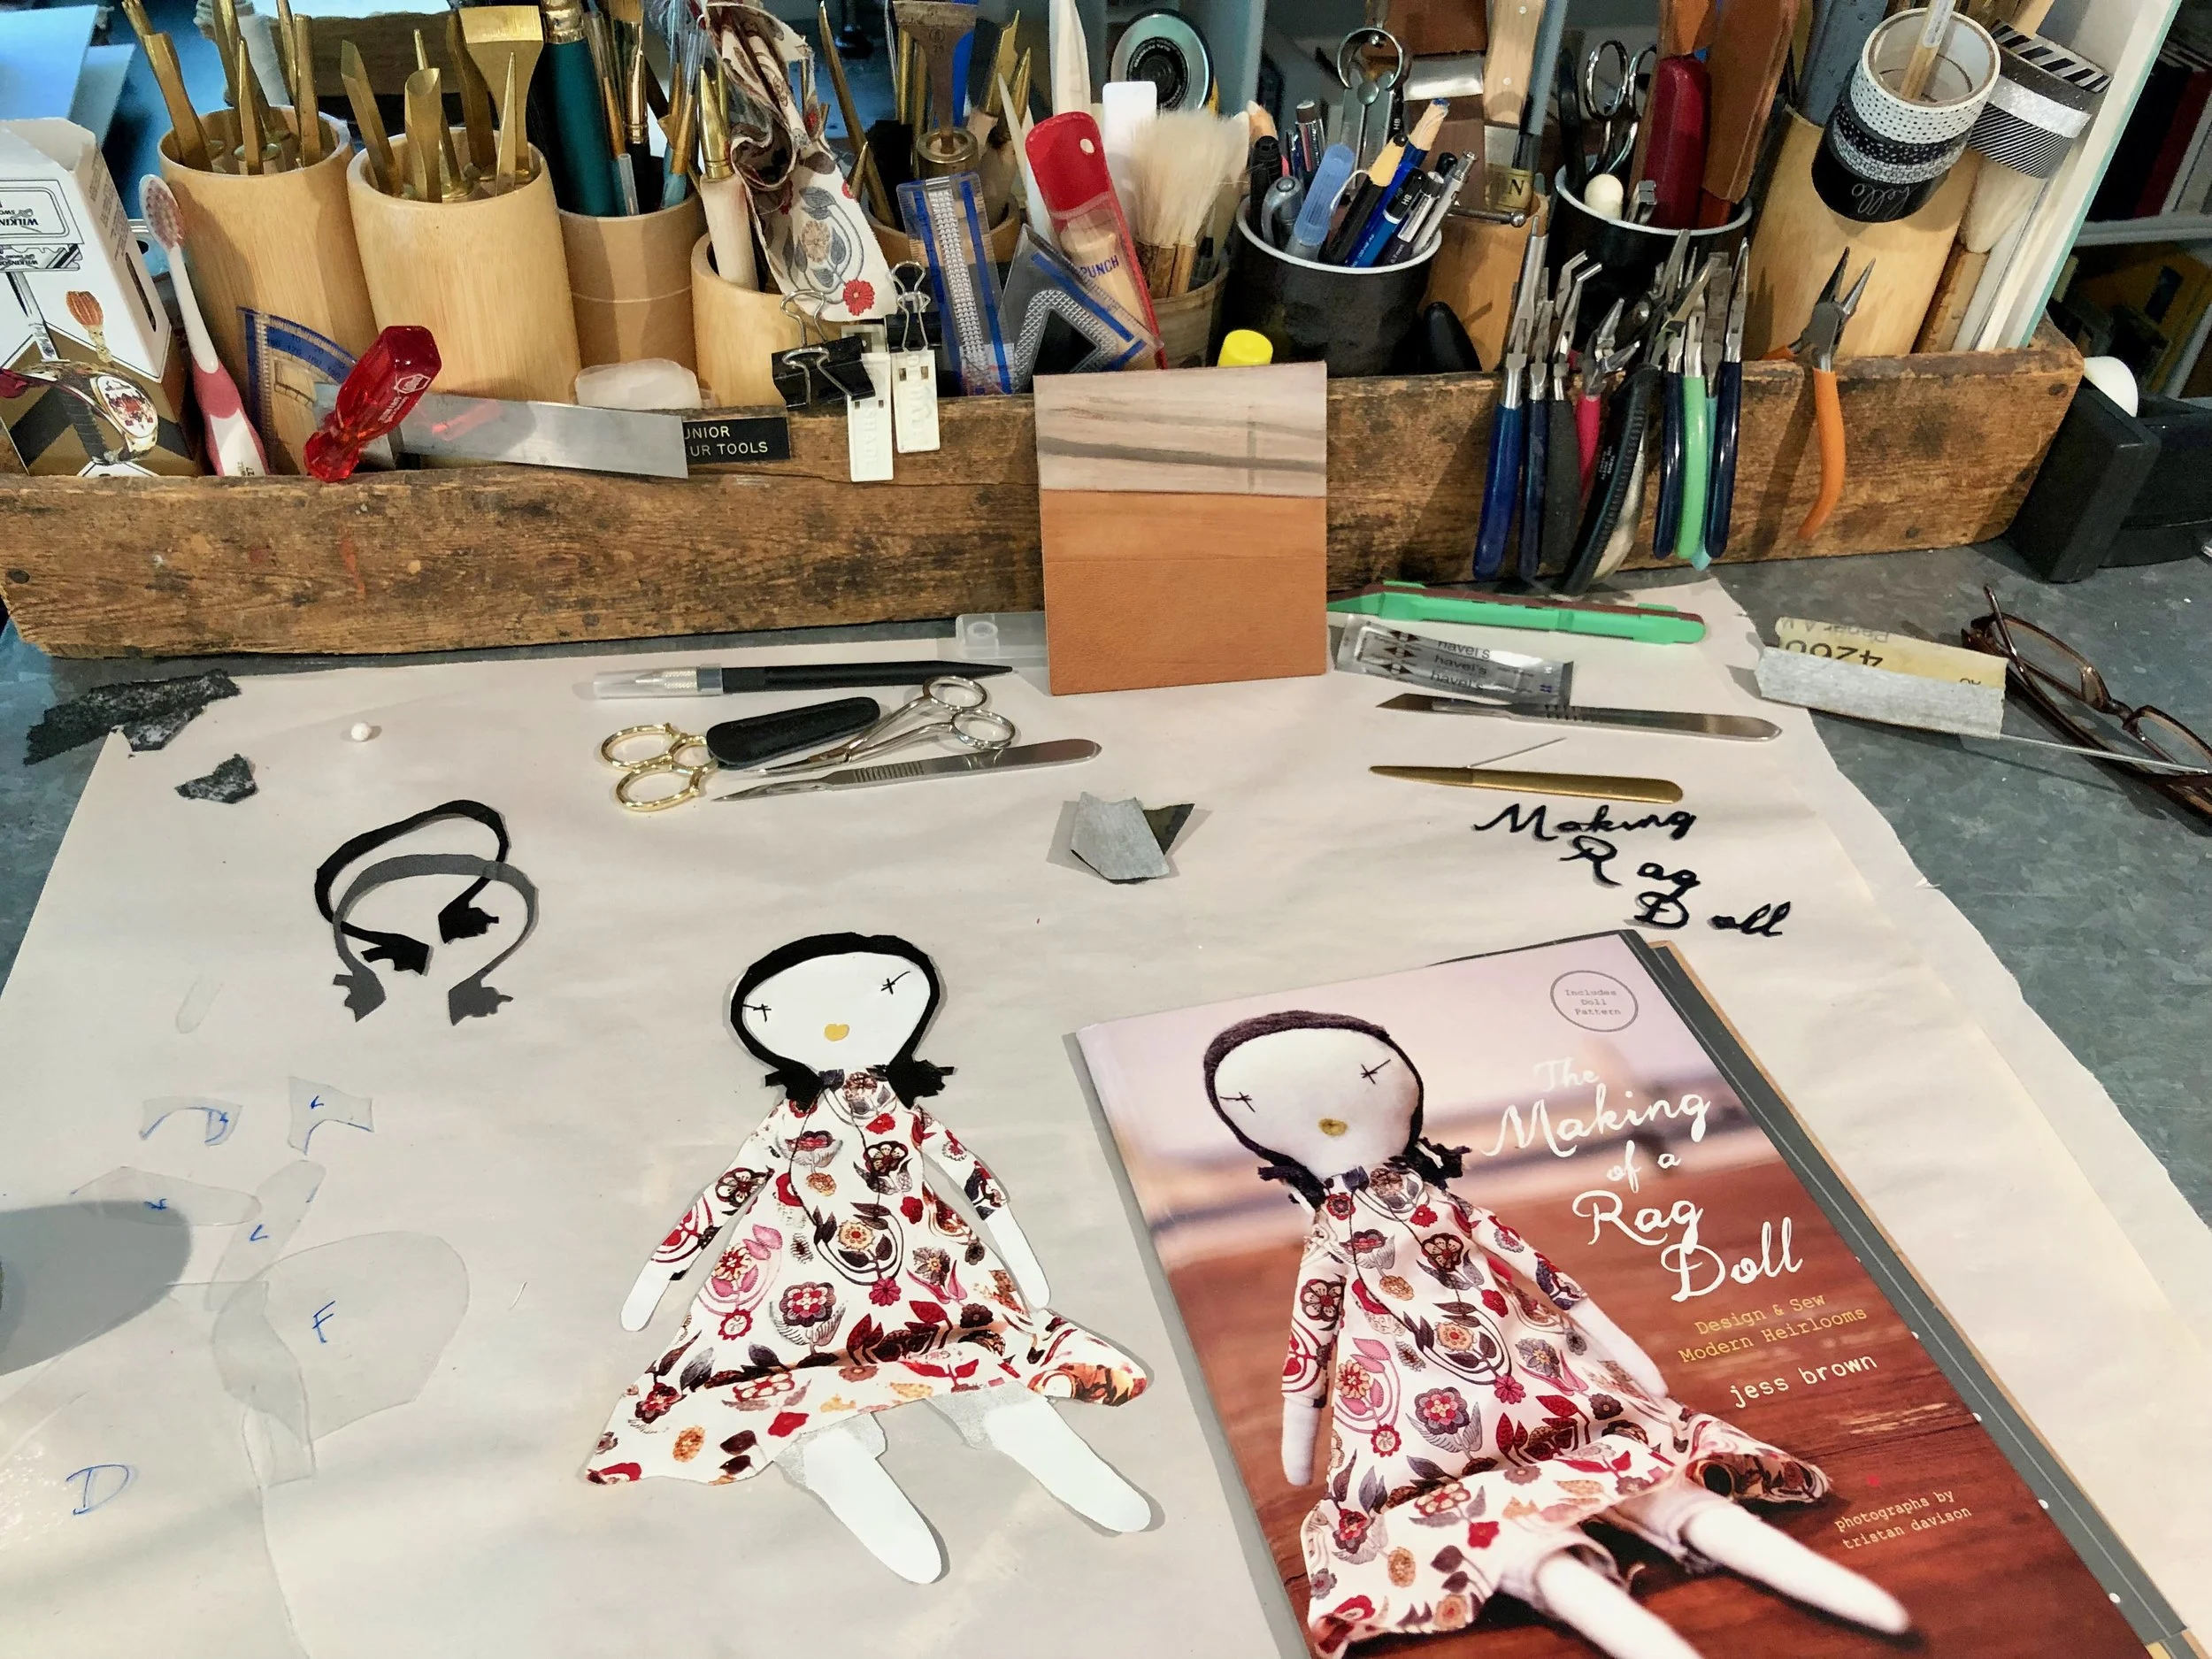
11. Apply onlay to book as usual.
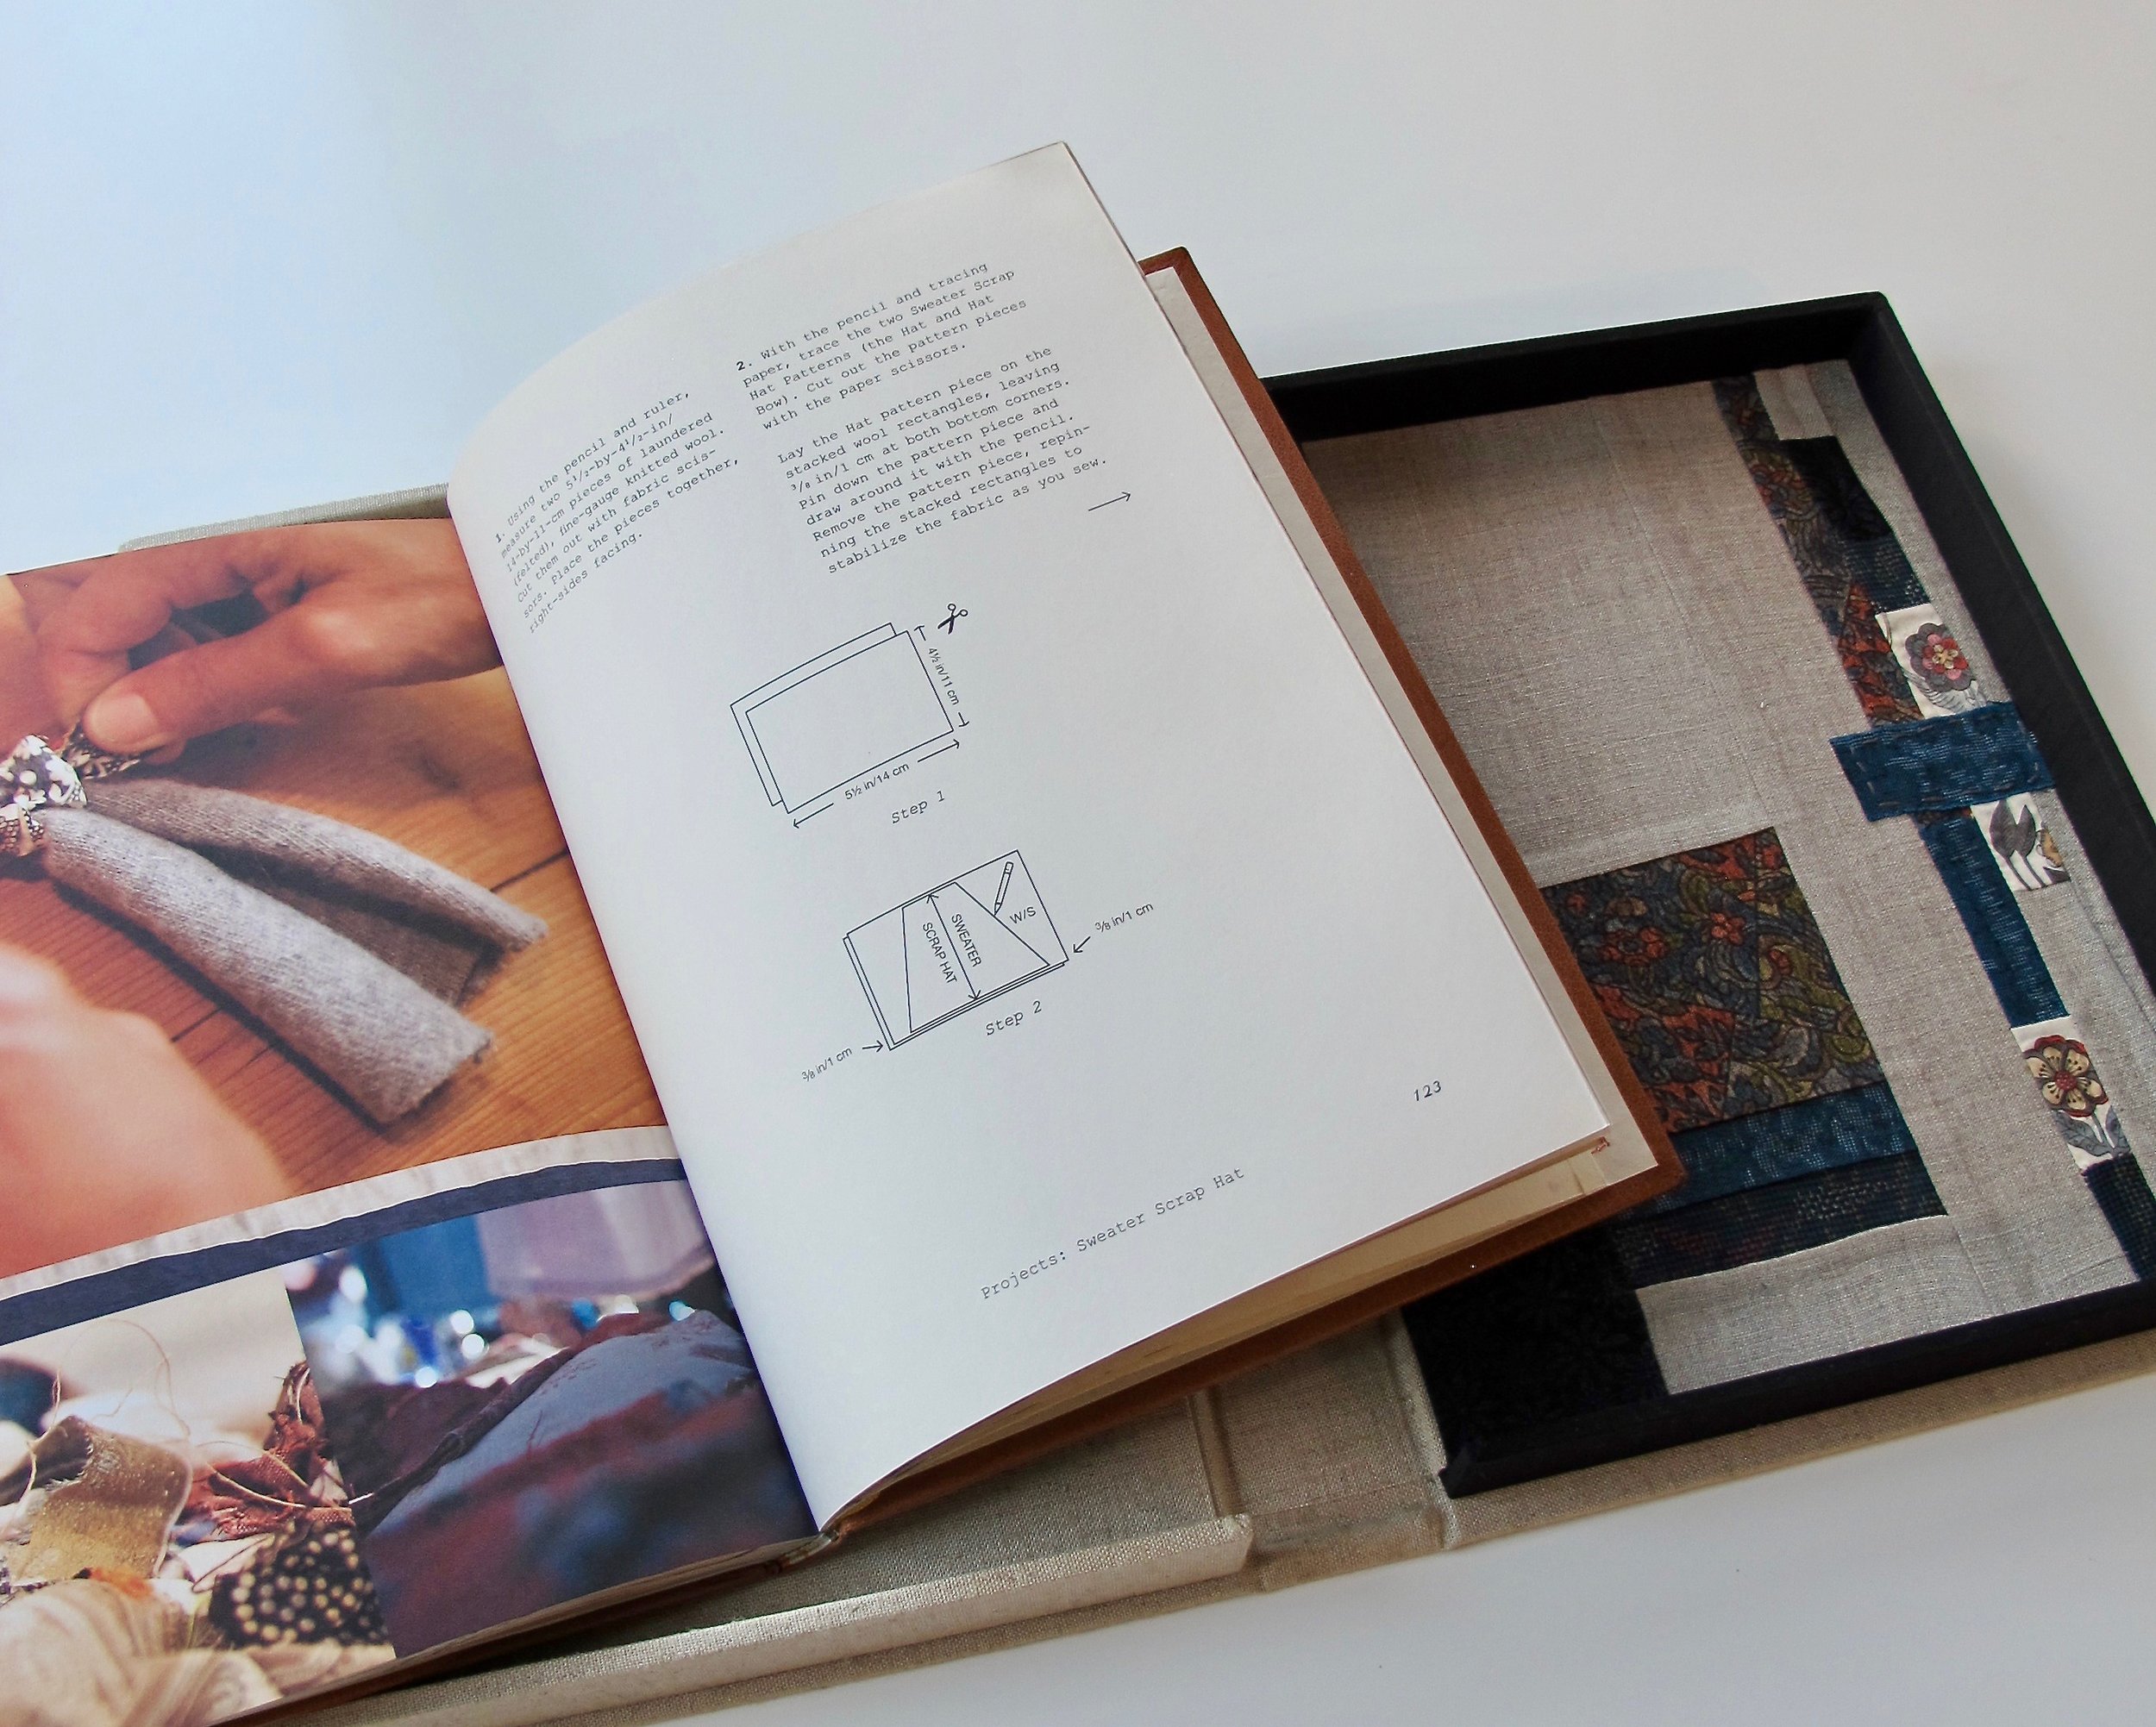
Some of the steps for making and designing this book:

If you have any questions / comments I’d love to hear them.
Thank you for reading : )
